MOTION
Slow 1/15
Fast 1/1000
Slow 1/4
Slow 1/15
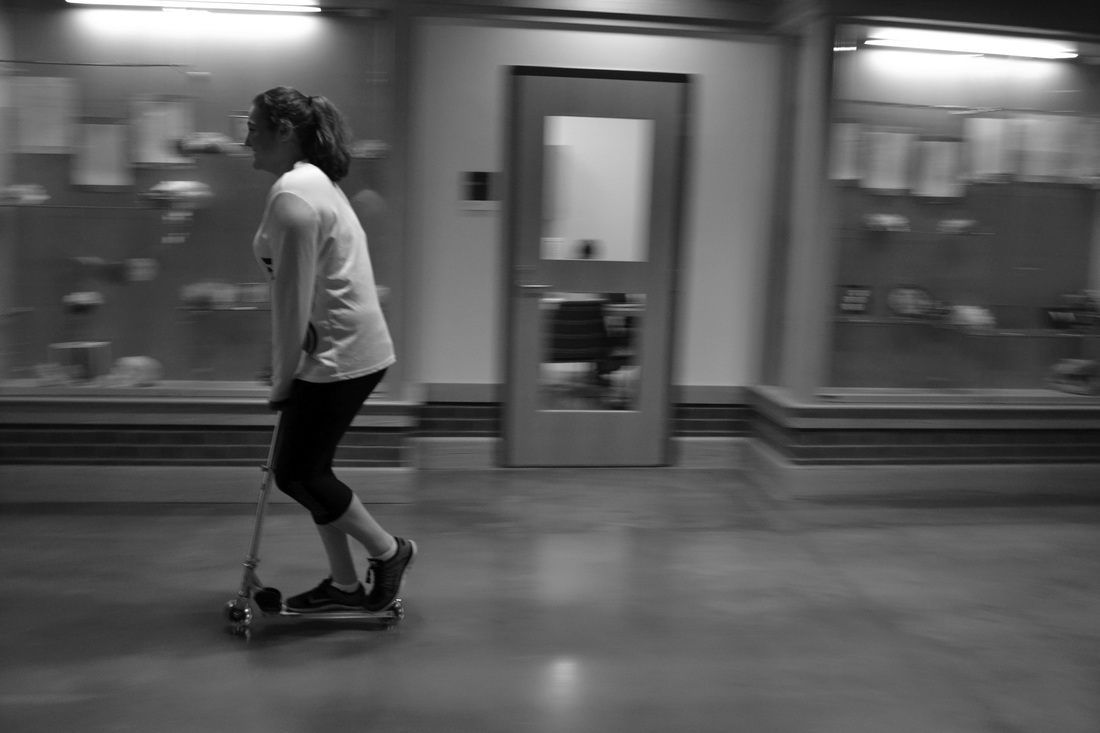
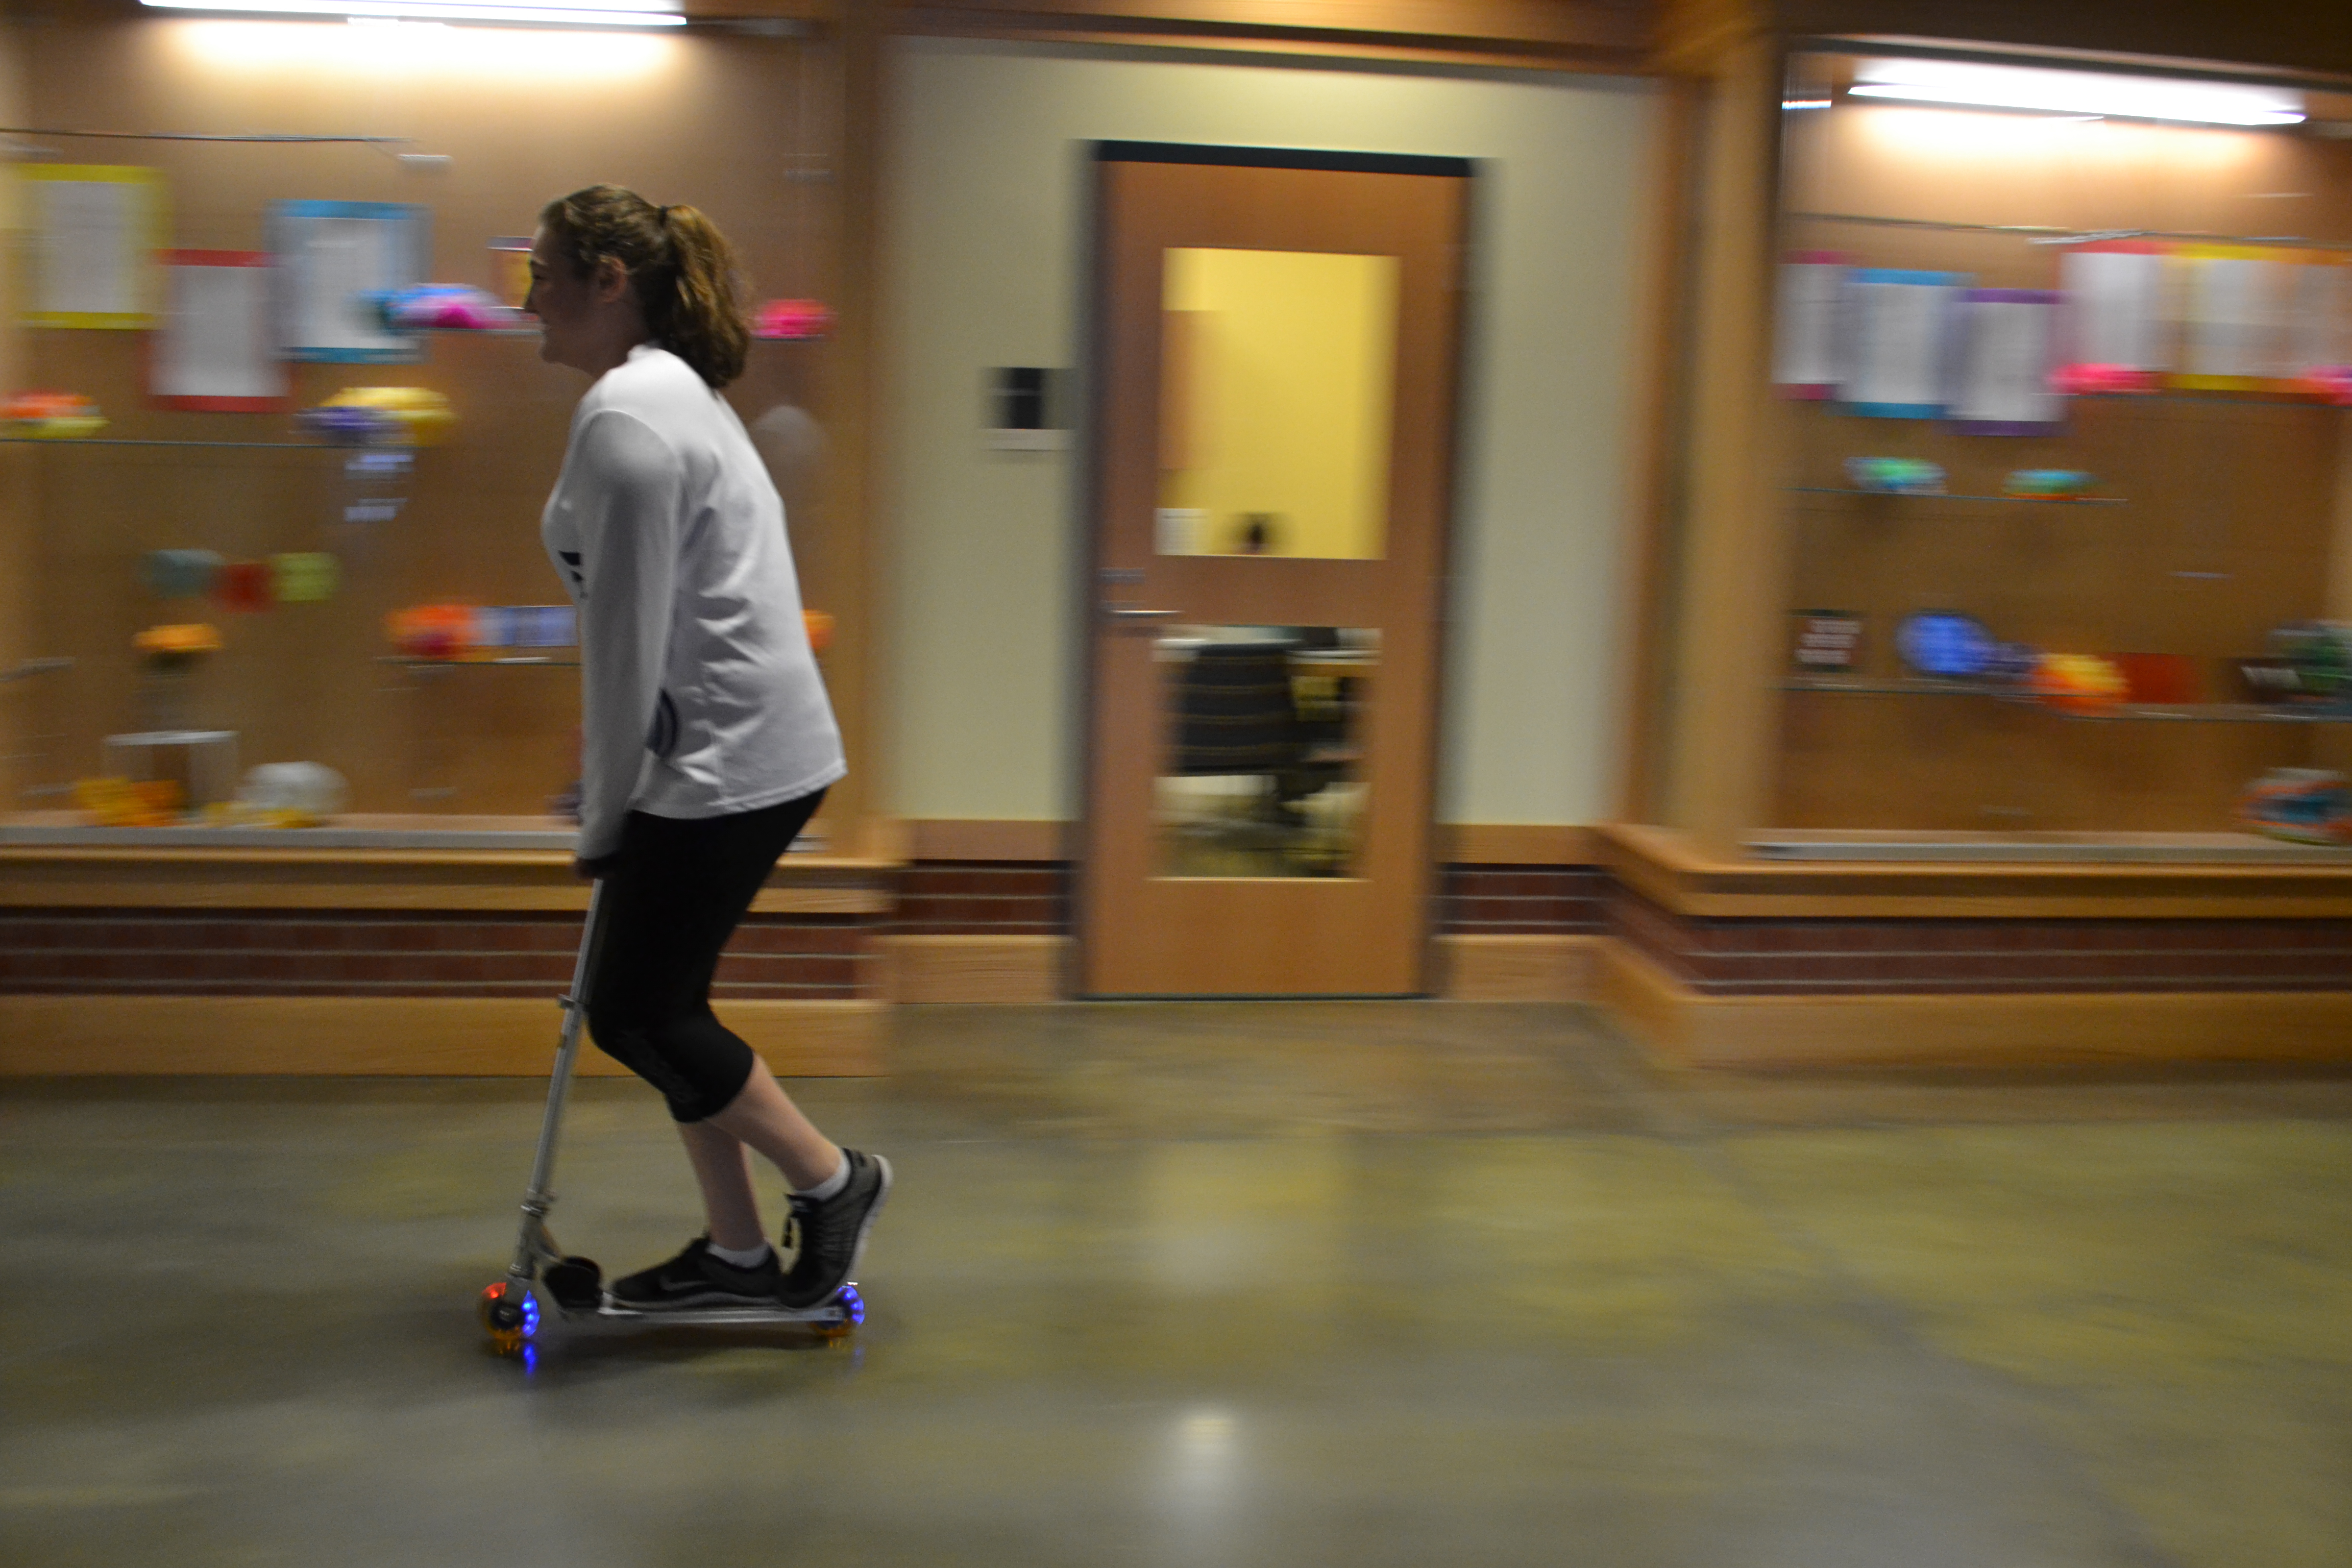
Panning 1/60
Slow 1/15

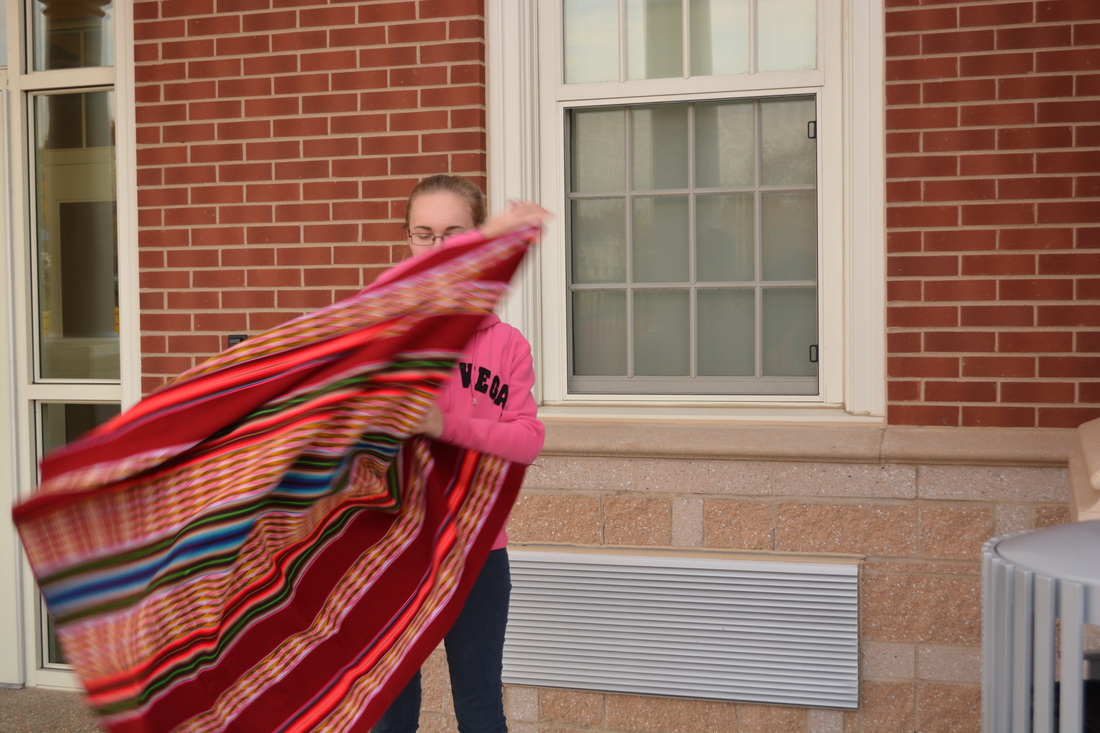
Slow Outside of school 1/2
|
|
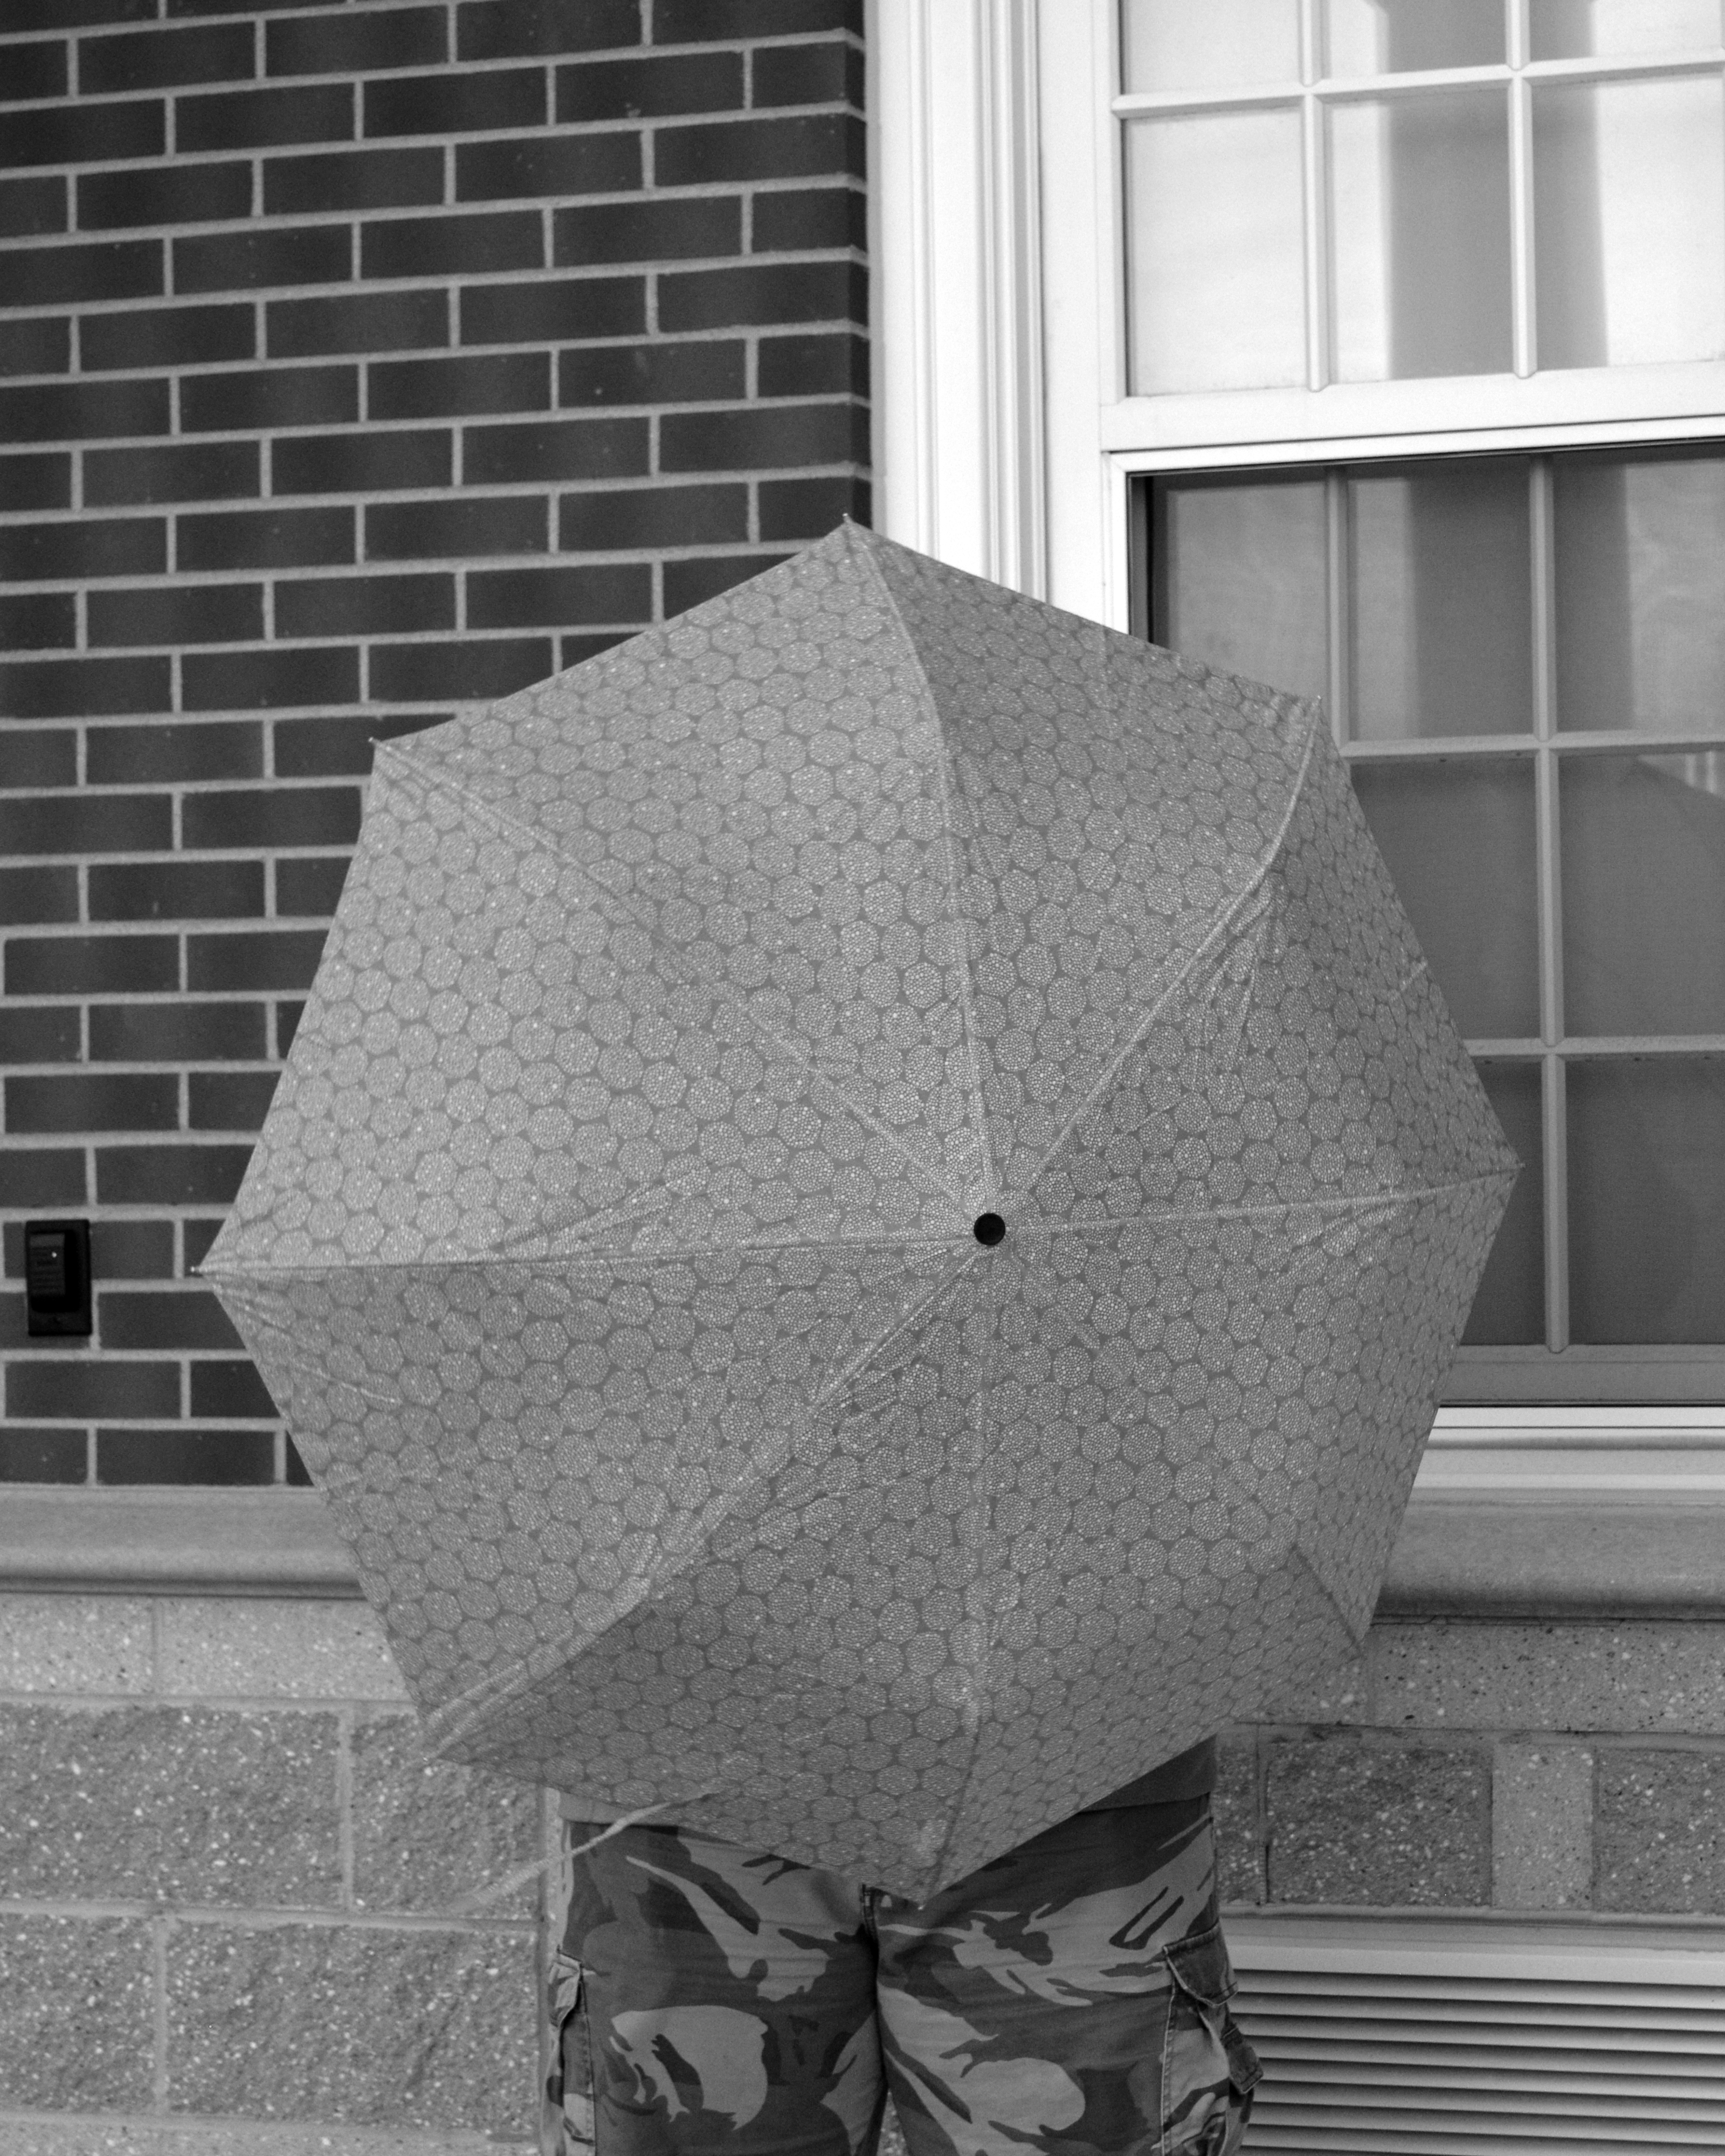
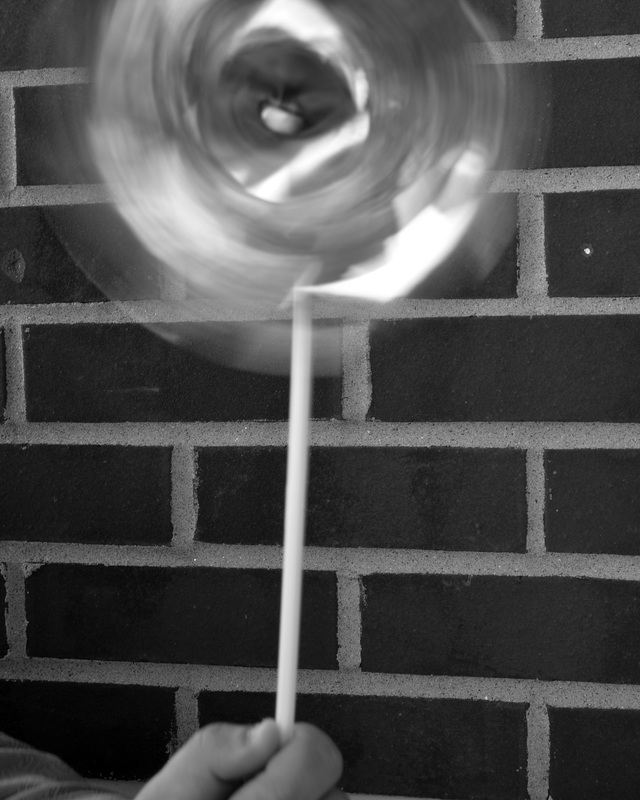
SPINNING UMBRELLA PHOTO
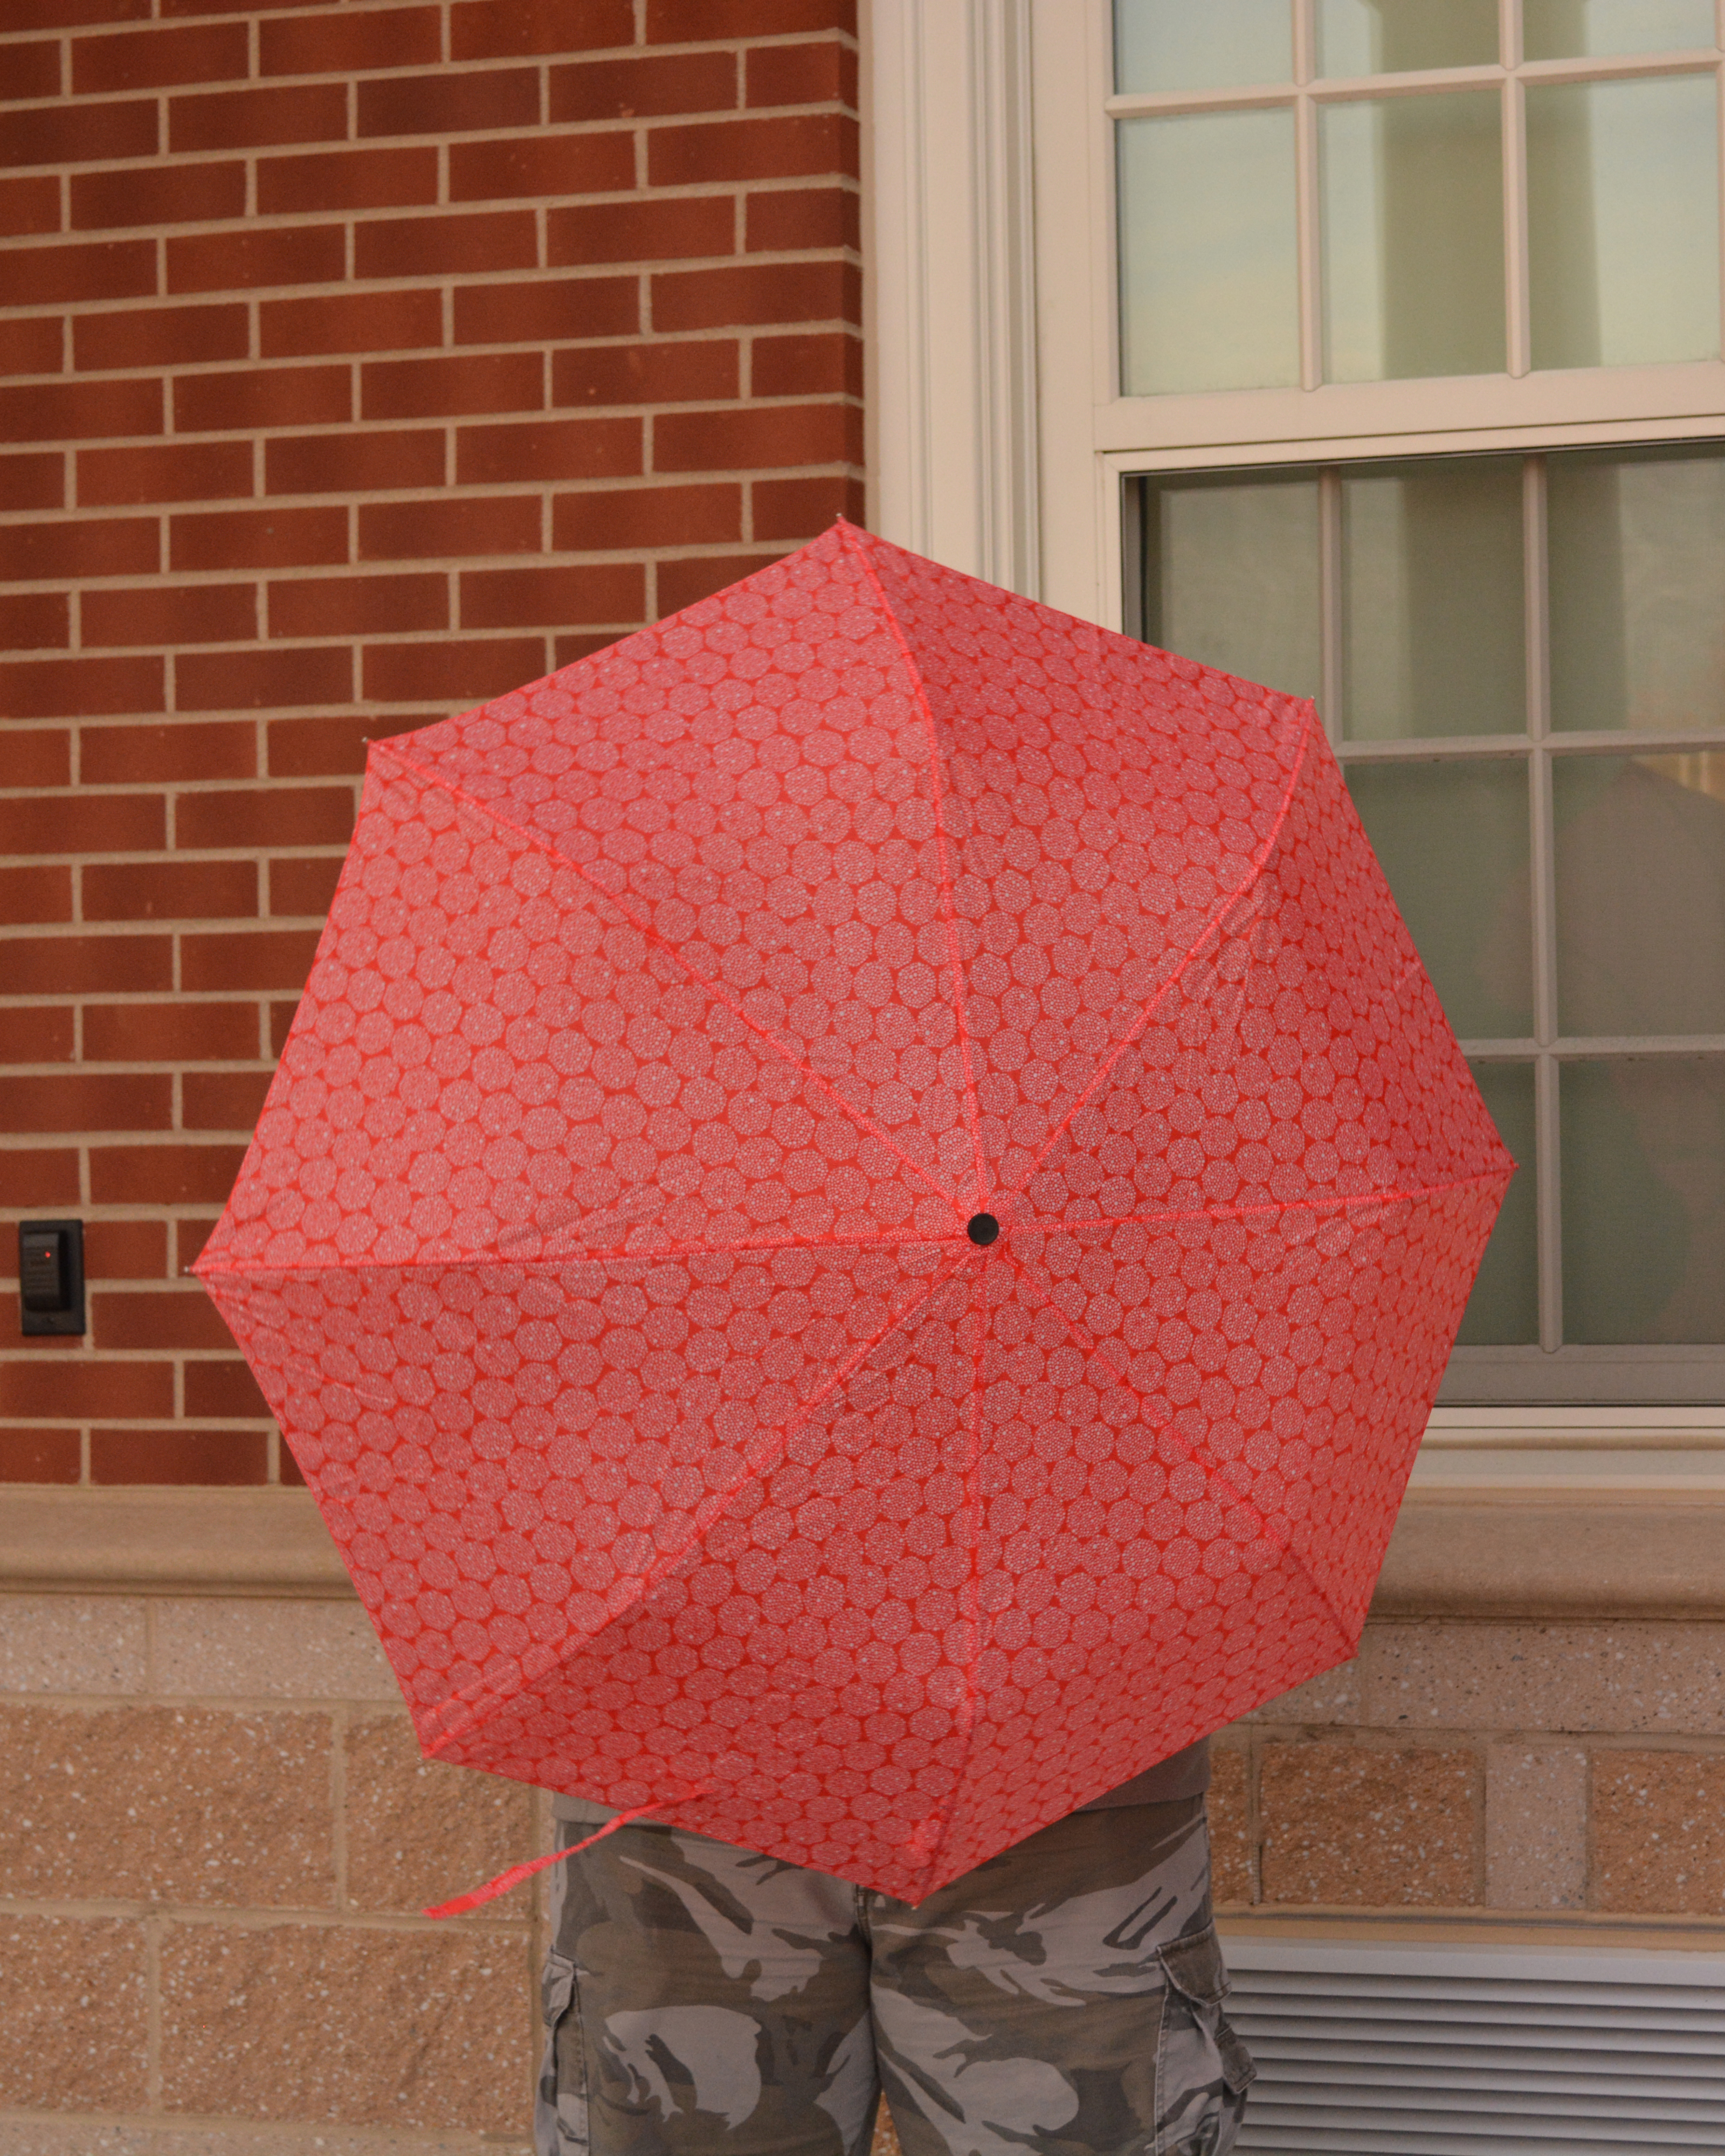
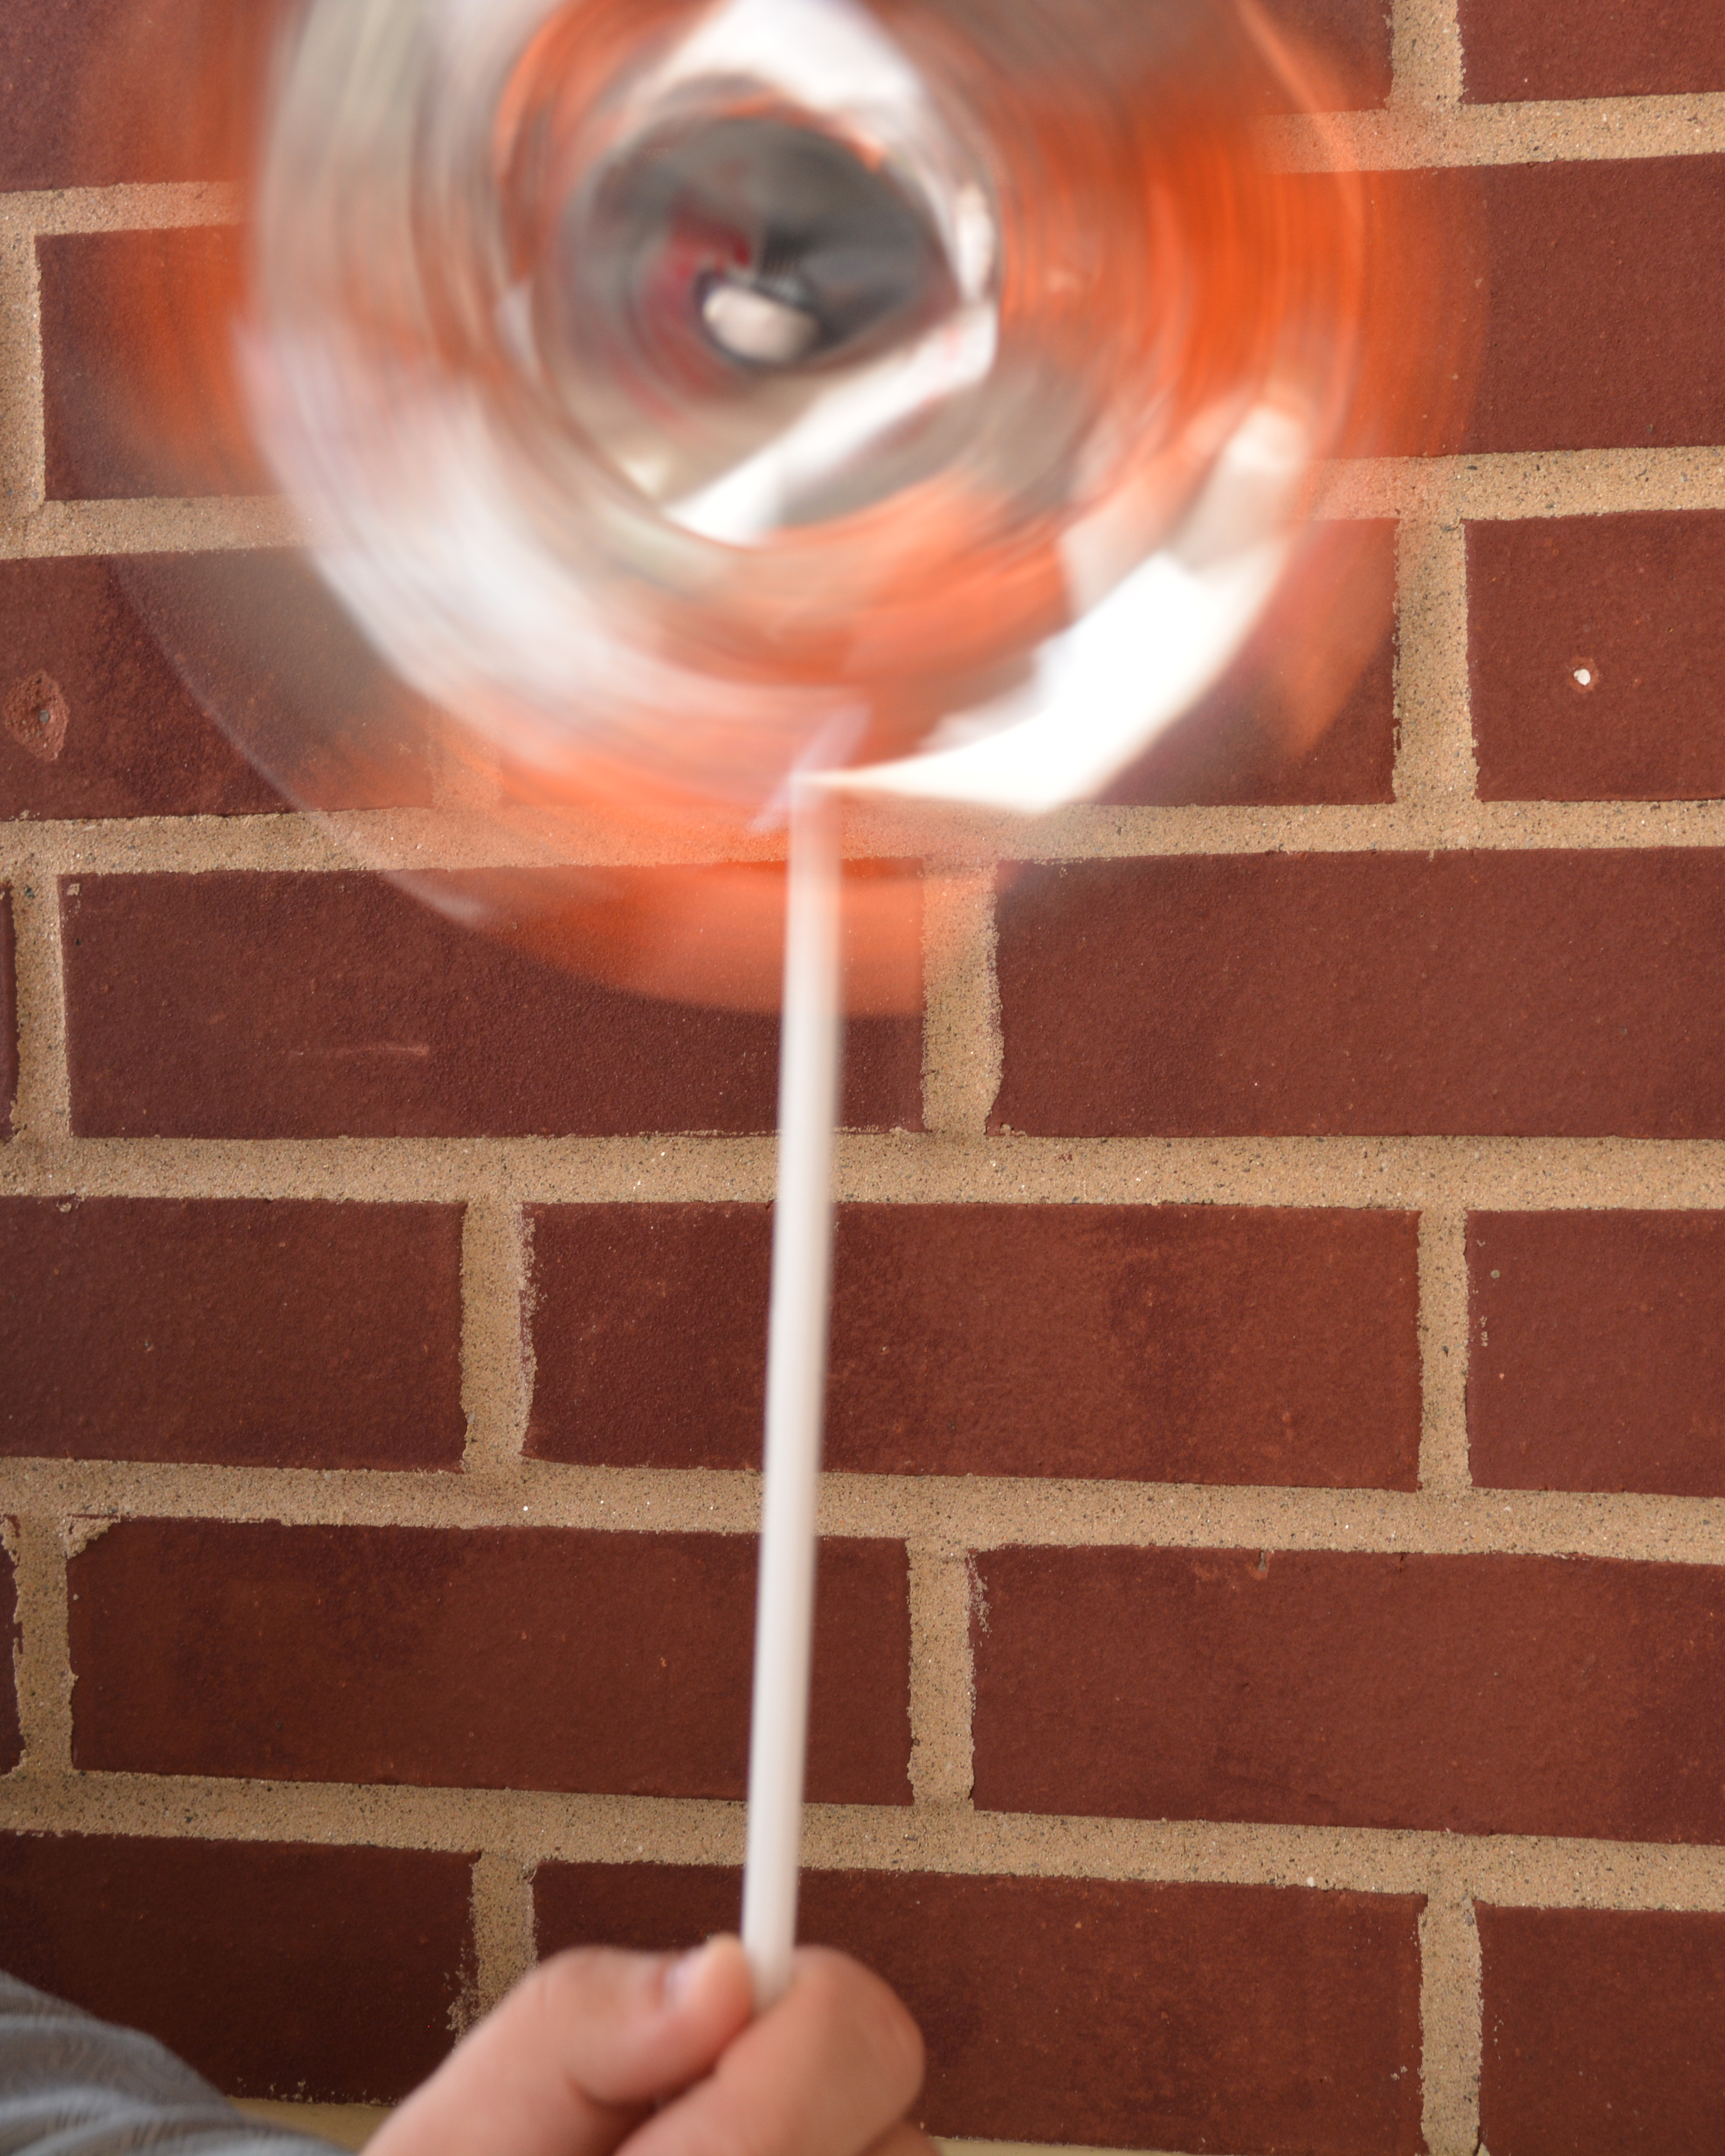
The approximate shutter speed was 1/1000.
The ISO is about 800 and the White Balance is cloudy.
I froze a spinning umbrella with the loose tie frozen in the air.
I was at an even level with the umbrella and I was about 10 feet away from the umbrella.
Some Strengths in my photo is the pattern of the brick in the back. Also the texture of the umbrella and how it looks so smooth. Lastly, The shape of the brick and windows and doors behind the umbrella and person.
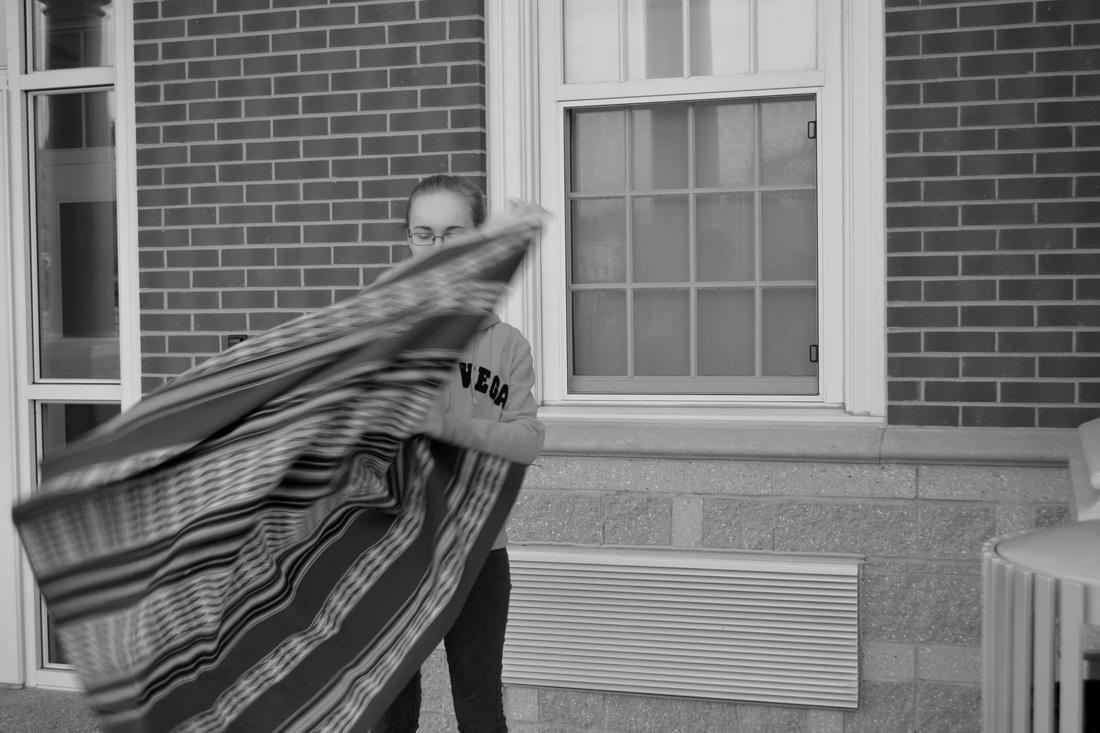
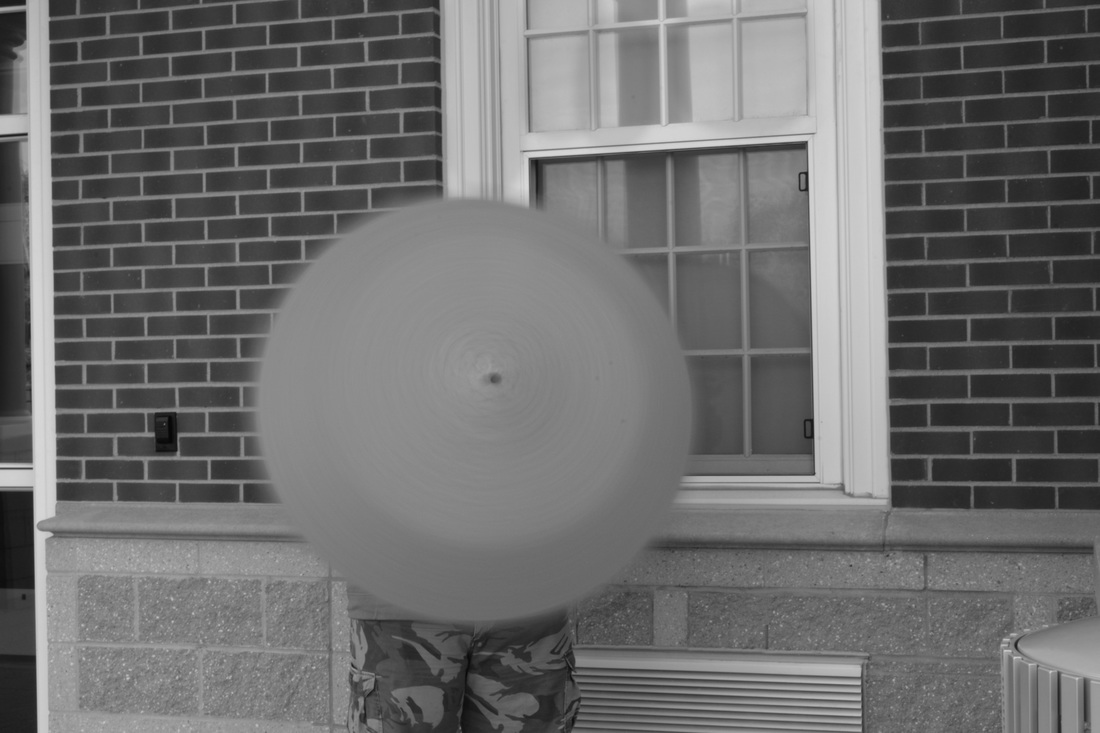
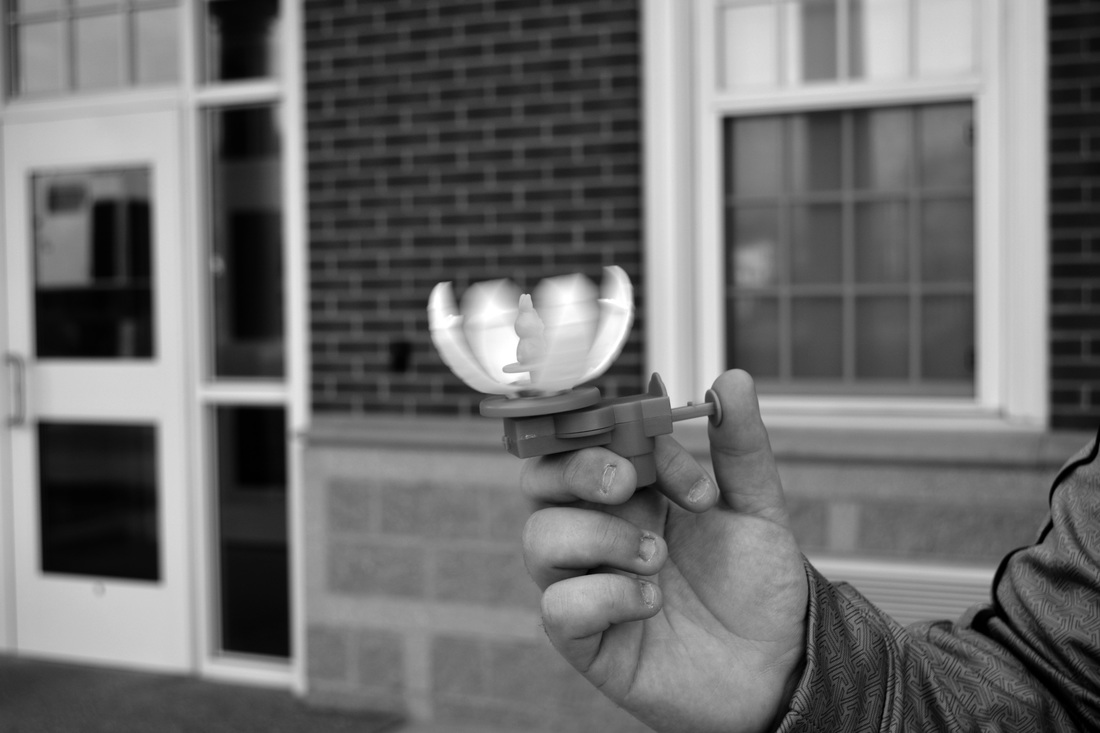
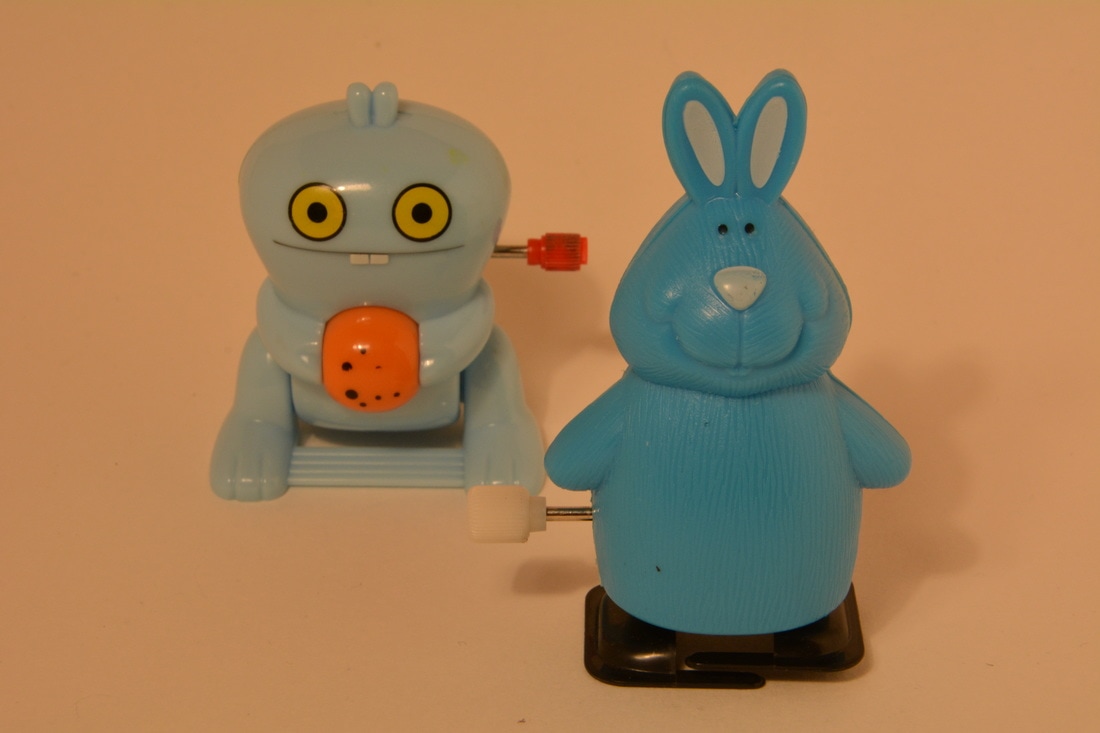
SPINNING TOY PHOTO
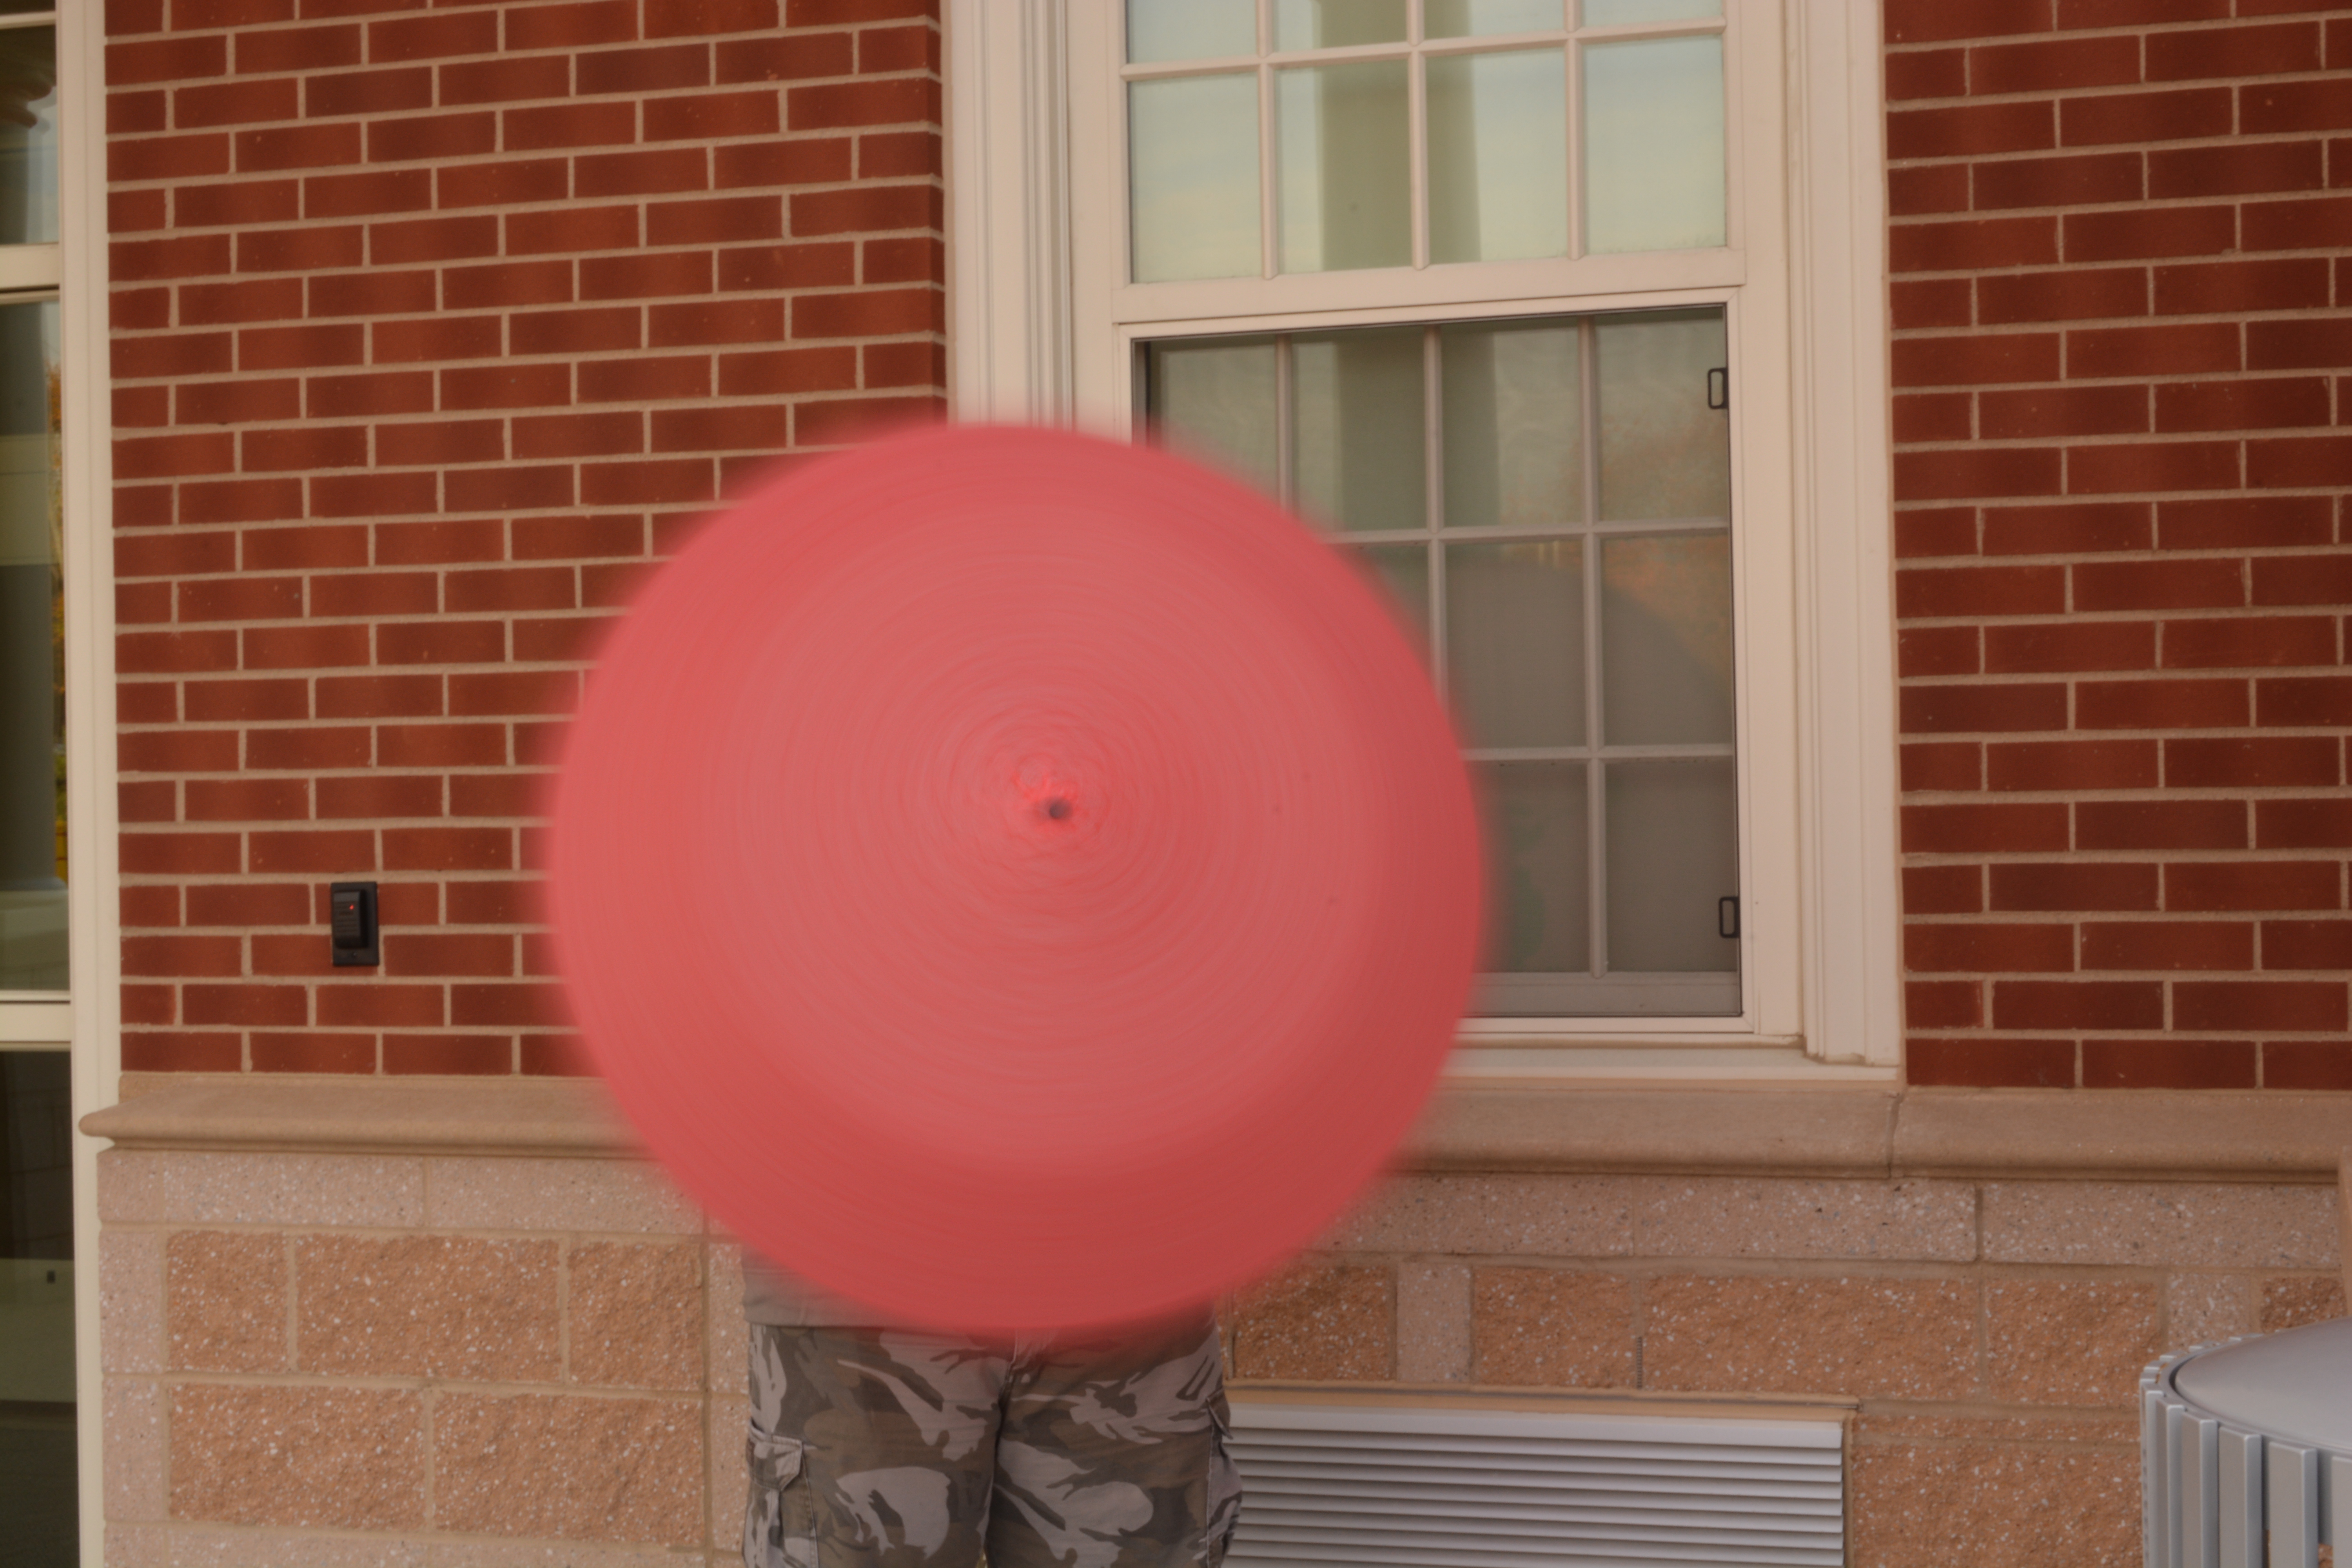
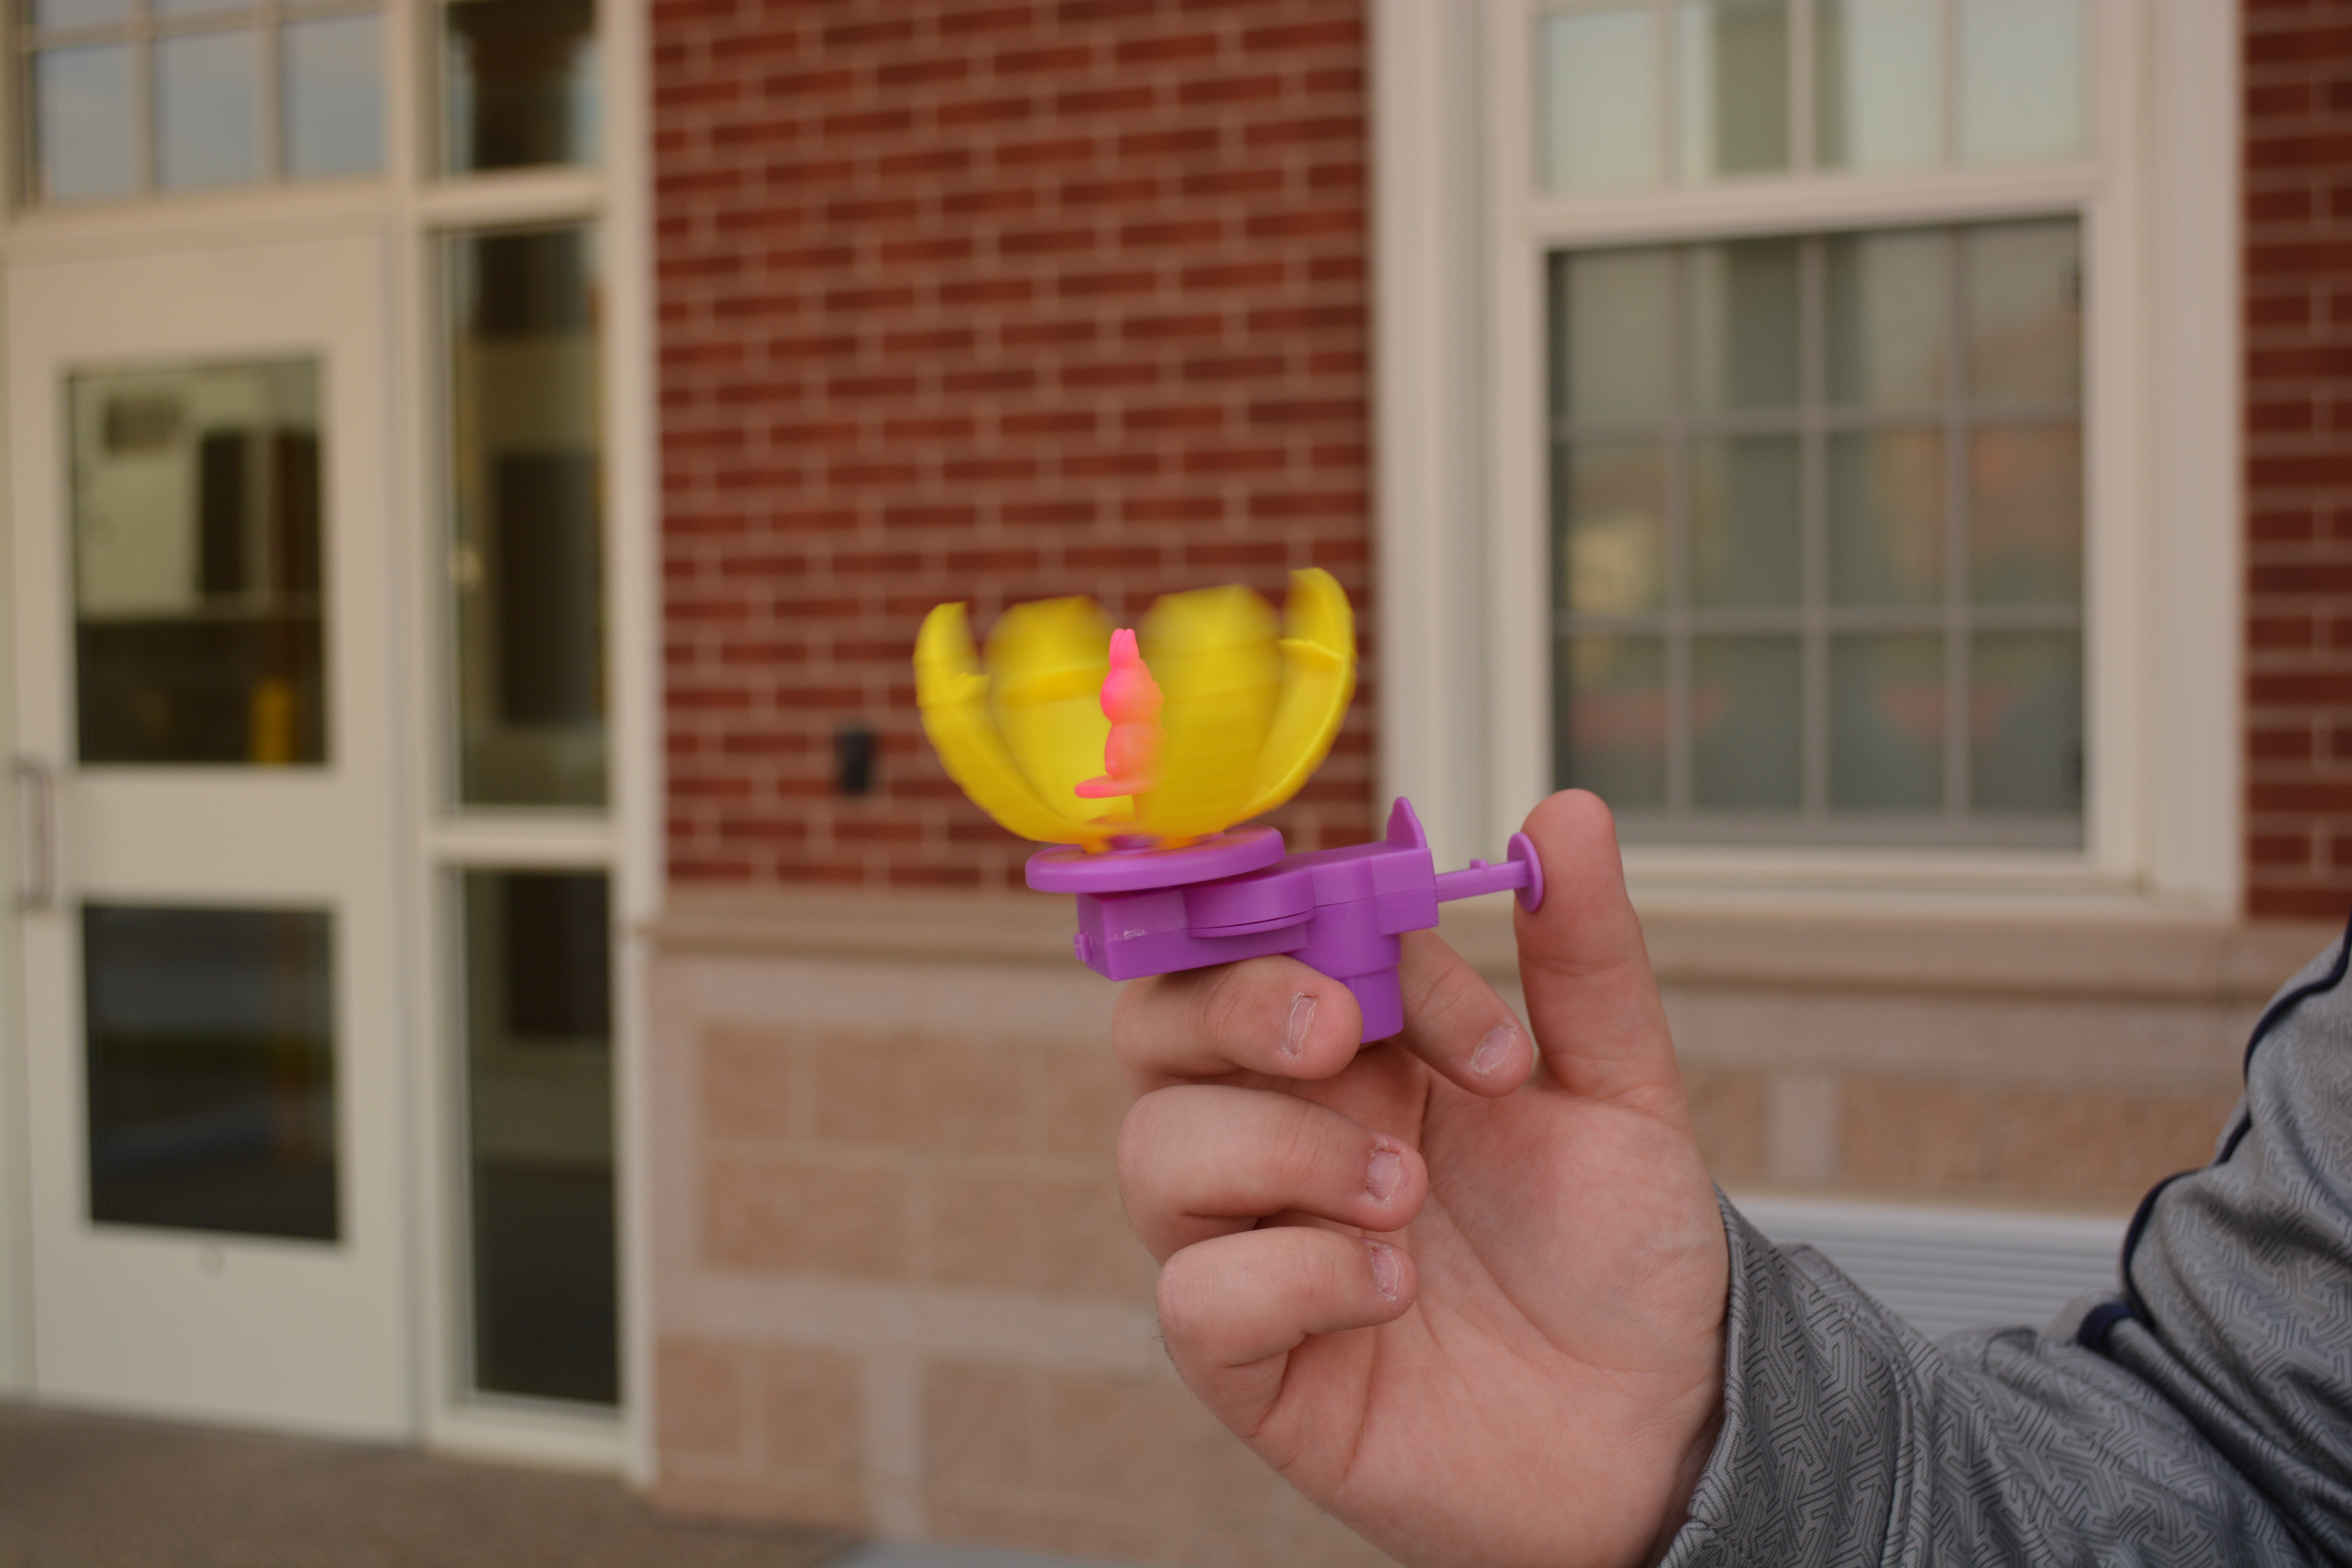
The approximate shutter speed was 1/15.
The ISO was about 800 and the White Balance setting was cloudy.
The motion I blurred was a spinning toy that was yellow and shaped like an egg with a pink bunny inside of it. I was about 6 inches away from the toy. I was at an even level with the toy.
Some Strengths in my photo is the pattern of the brick in the back. Also the line of the brick and windows in the back. Lastly, the color of the red brick on top and yellow brick on the bottom and the white window sills.
The approximate shutter speed was 1/1000.
The ISO is about 800 and the White Balance is cloudy.
I froze a spinning umbrella with the loose tie frozen in the air.
I was at an even level with the umbrella and I was about 10 feet away from the umbrella.
Some Strengths in my photo is the pattern of the brick in the back. Also the texture of the umbrella and how it looks so smooth. Lastly, The shape of the brick and windows and doors behind the umbrella and person.
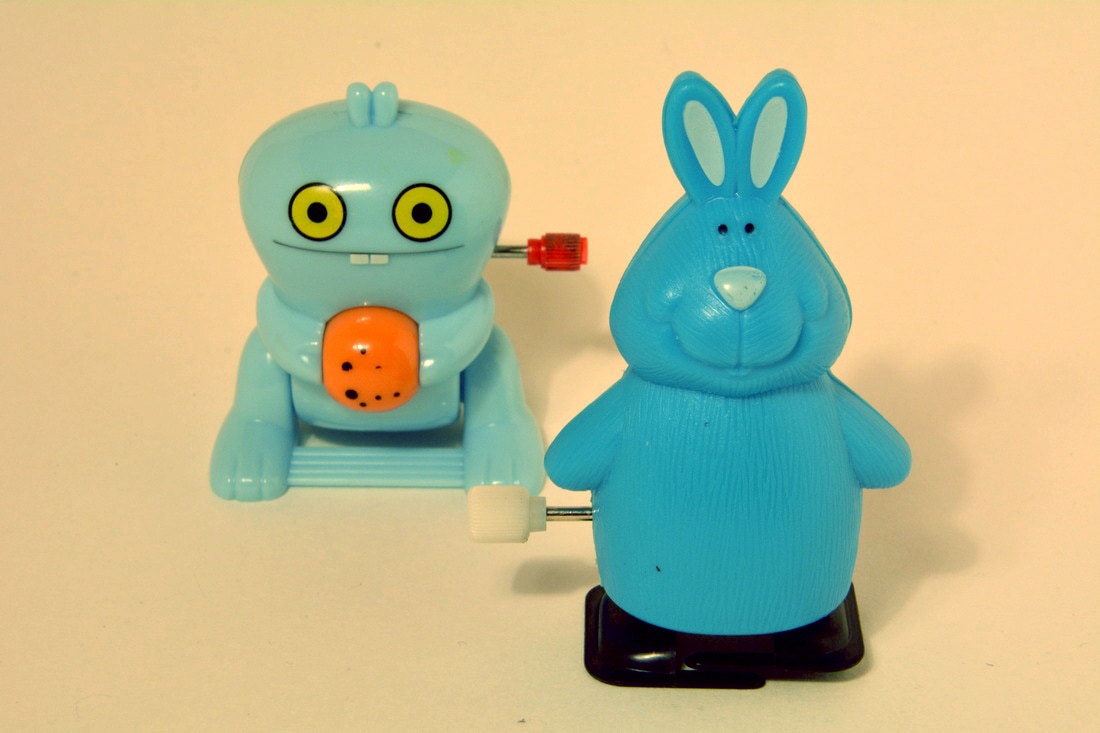
SPINNING TOY PHOTO
The approximate shutter speed was 1/15.
The ISO was about 800 and the White Balance setting was cloudy.
The motion I blurred was a spinning toy that was yellow and shaped like an egg with a pink bunny inside of it. I was about 6 inches away from the toy. I was at an even level with the toy.
Some Strengths in my photo is the pattern of the brick in the back. Also the line of the brick and windows in the back. Lastly, the color of the red brick on top and yellow brick on the bottom and the white window sills.
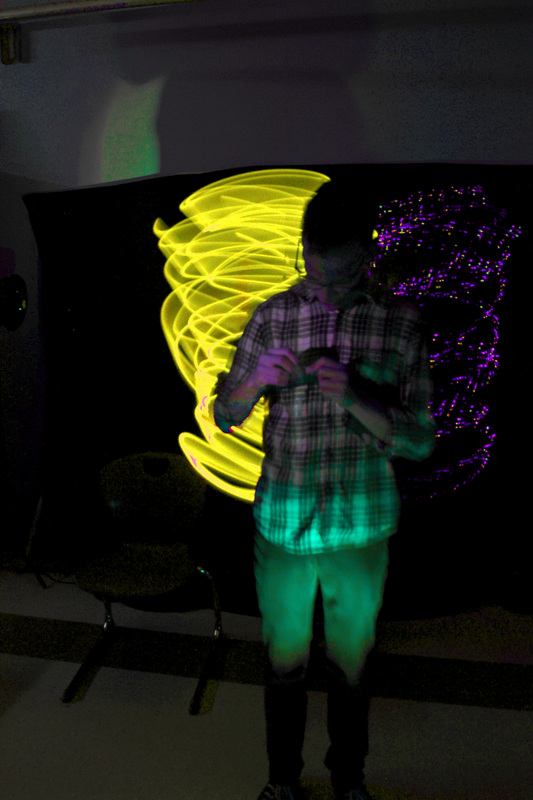
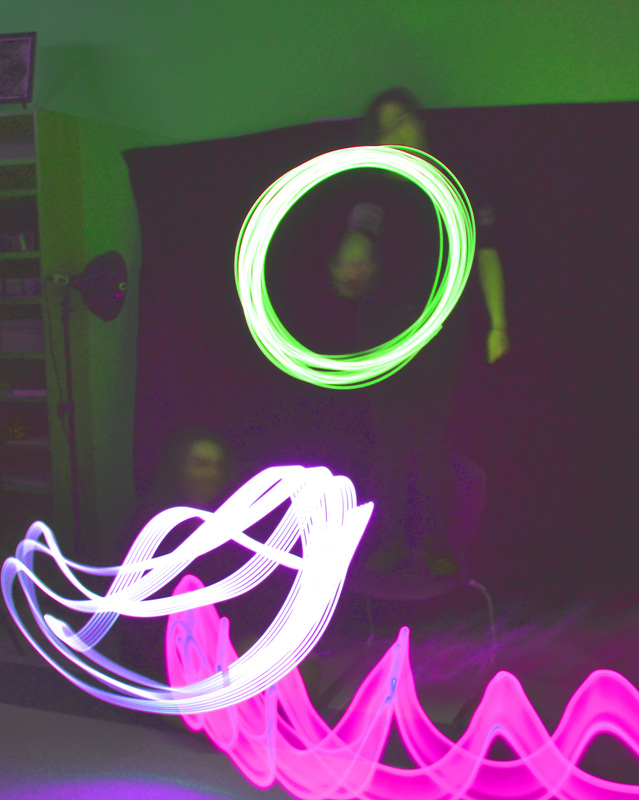
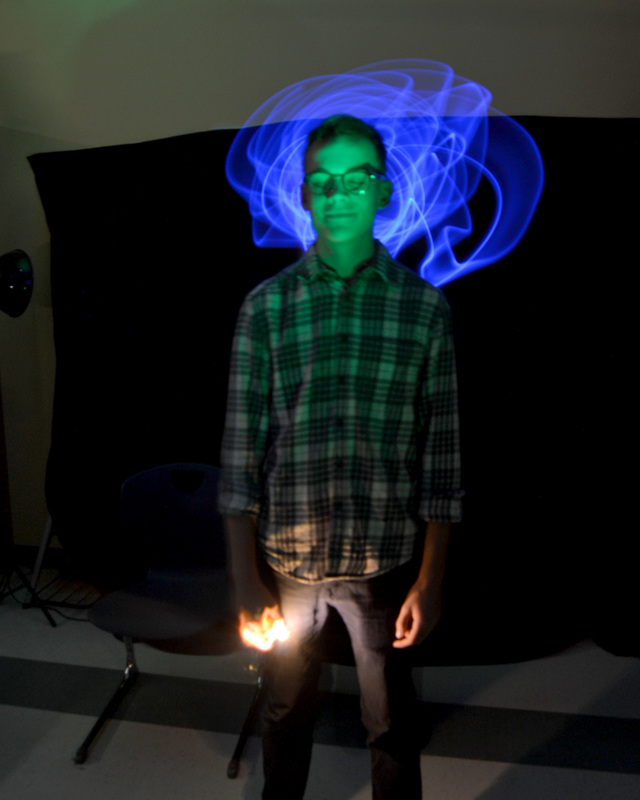
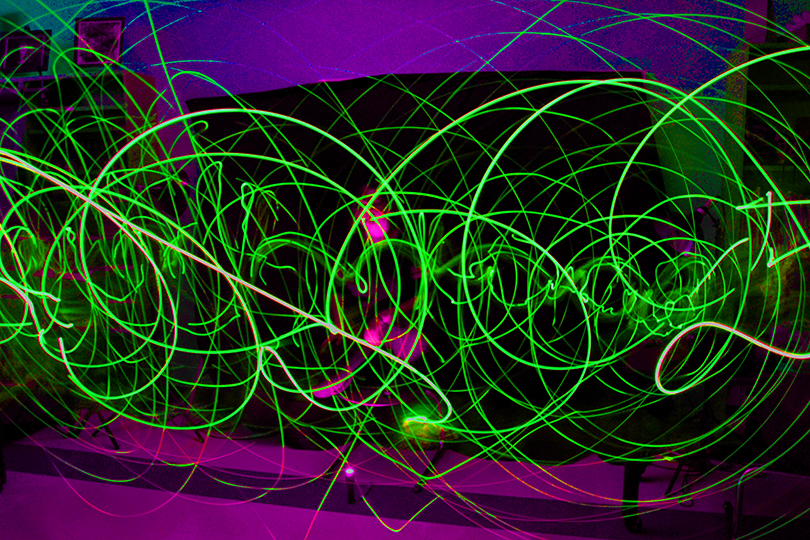
PAINTING WITH LIGHT
|
|
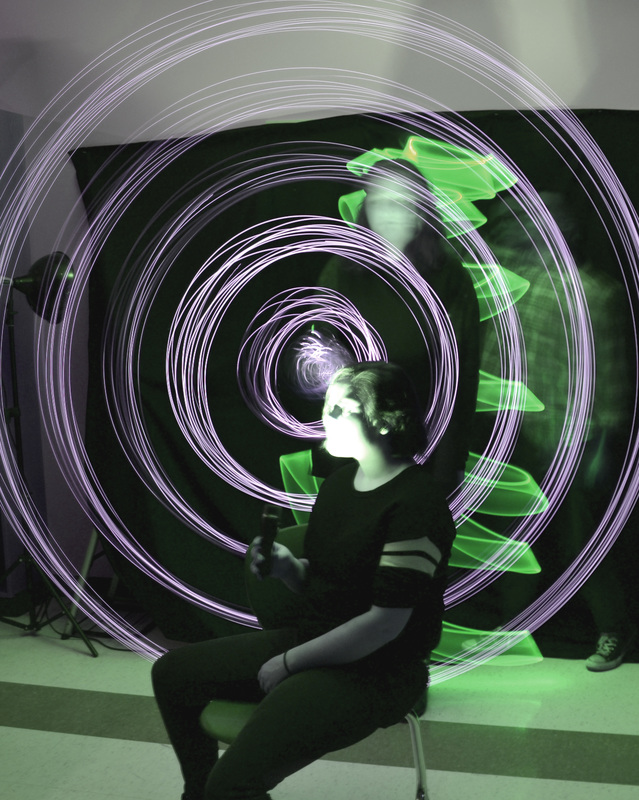
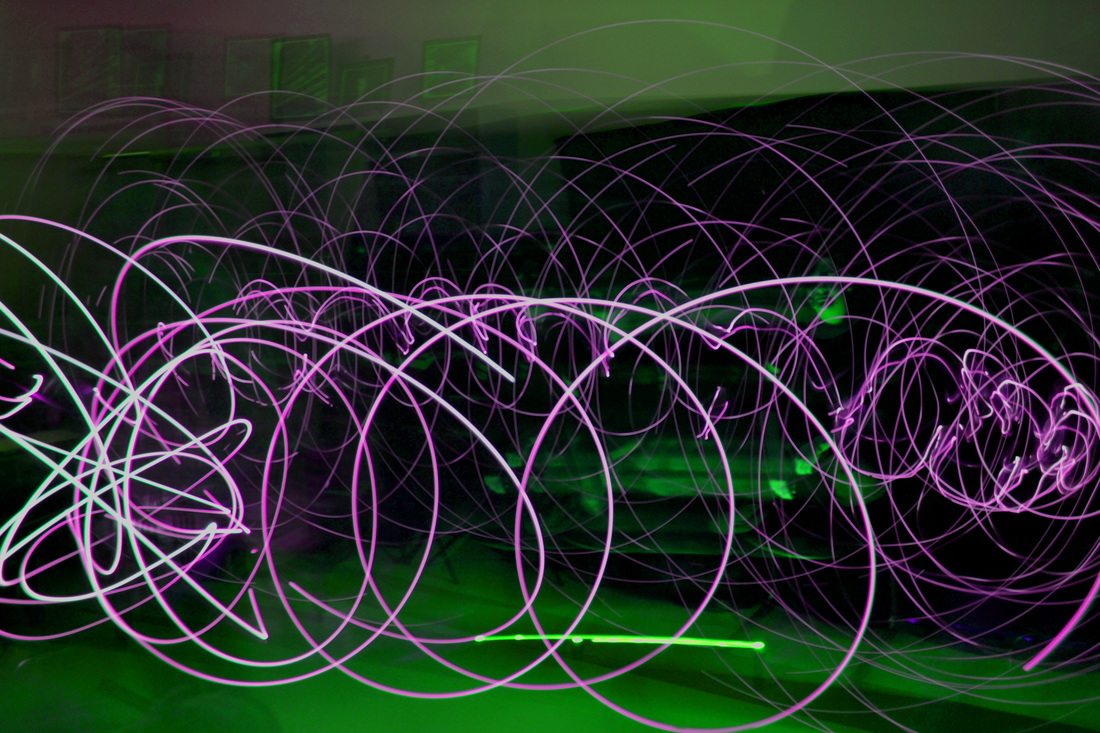
The photo I chose was the picture with the purple squiggles (Second one down on left column) and changed the lighting slightly and changed the hue and saturation much more.
The shutter speed of the picture was 6 seconds.
The little light saber was used also the color flashlights and regular flash light.
I was able to get this affect by having lights slightly moved up and down while being moved side to side mainly along with a circular fashion. I also moved the camera and was able to get the pictures at the top left to give a repeated and interesting, ghostly effect.
The impact of the photo maes yourt eyes star from the circular figurs and then to the straighter side tio sdide lines to finally lead the eyes to the faint lights at the top to notice the ghodtly picture frames on the top of wall on the left. The veiwer would probably be interesnted in how the lines lead there eyes to all different areas of the picture to finally notice the picture frames and wonder how it was taken and how it was achieved.
Depth of Field


|


|
COLOR CORRECTION
|
|
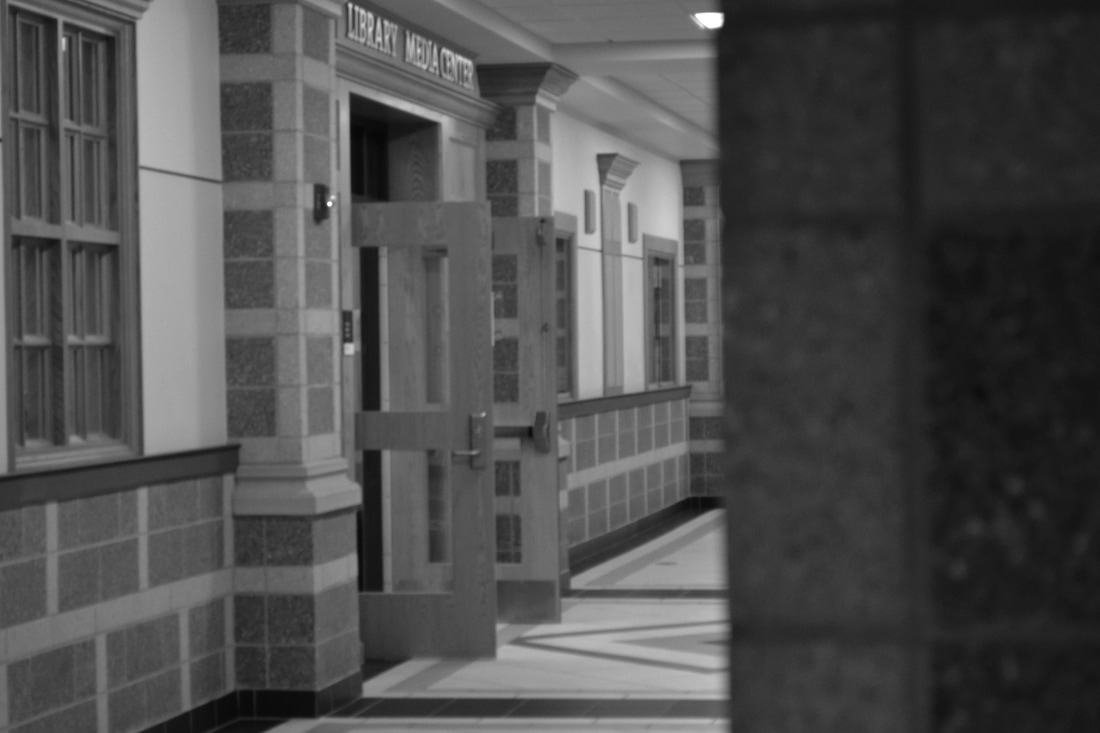
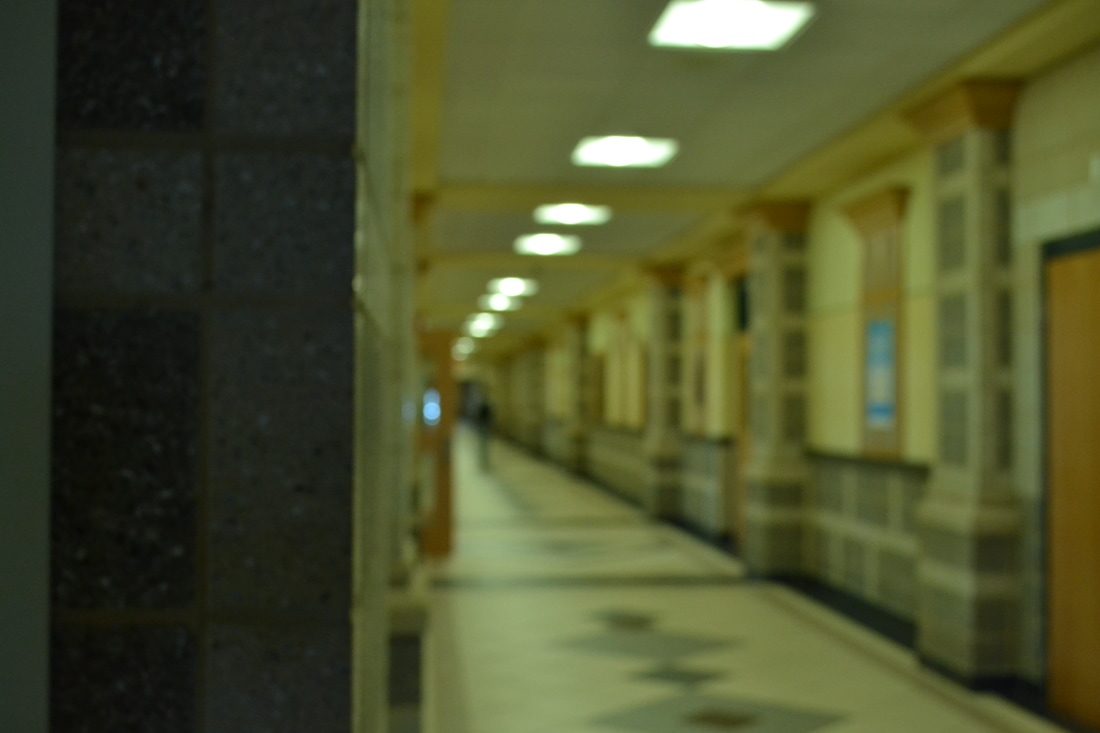
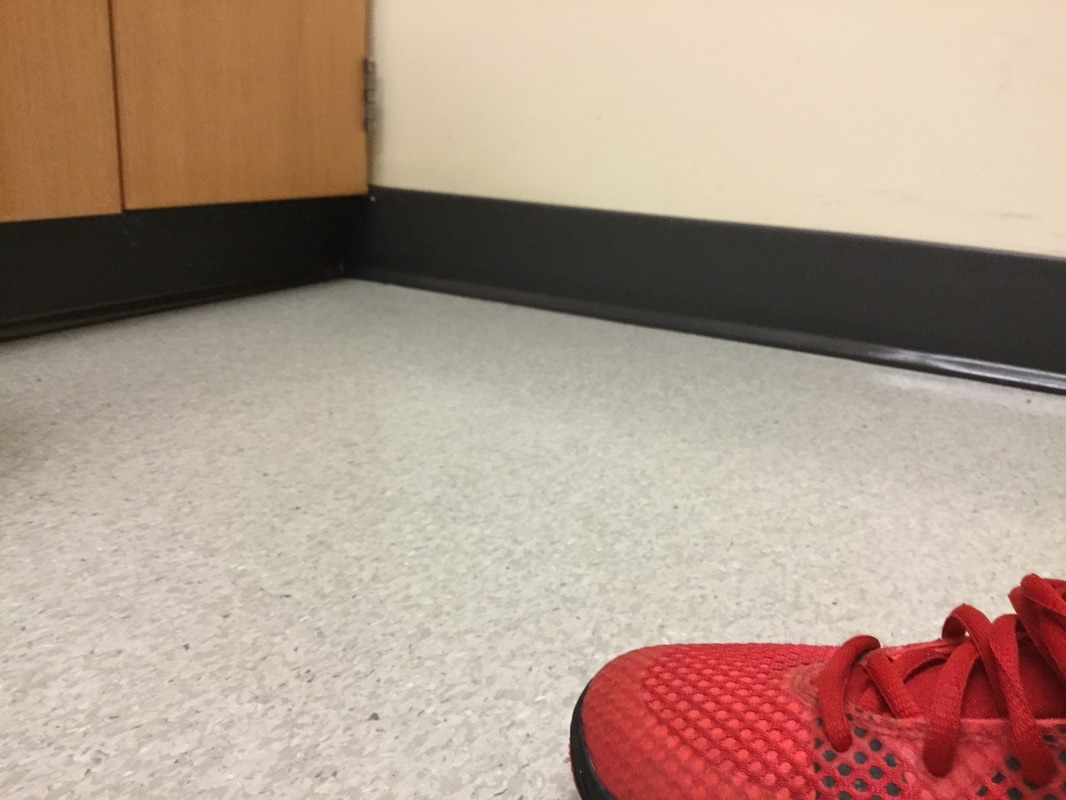
Hallway Picture 1
What f-stop did you have your camera set to create a shallow depth of field?
The f-Stop that was used was 5.6
What ISO and WB settings did you use?
ISO: 1600 WB: Fluorecent
What f-stop did you have your camera set to create a shallow depth of field?
The f-Stop that was used was 5.6
What ISO and WB settings did you use?
ISO: 1600 WB: Fluorecent
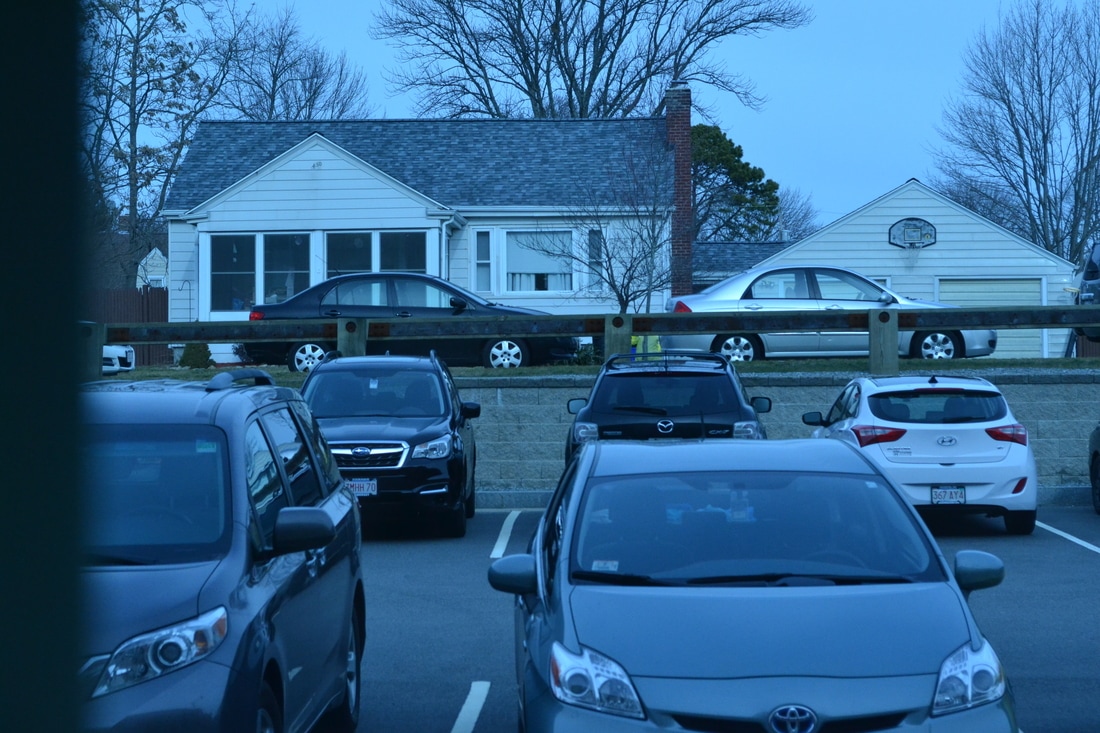
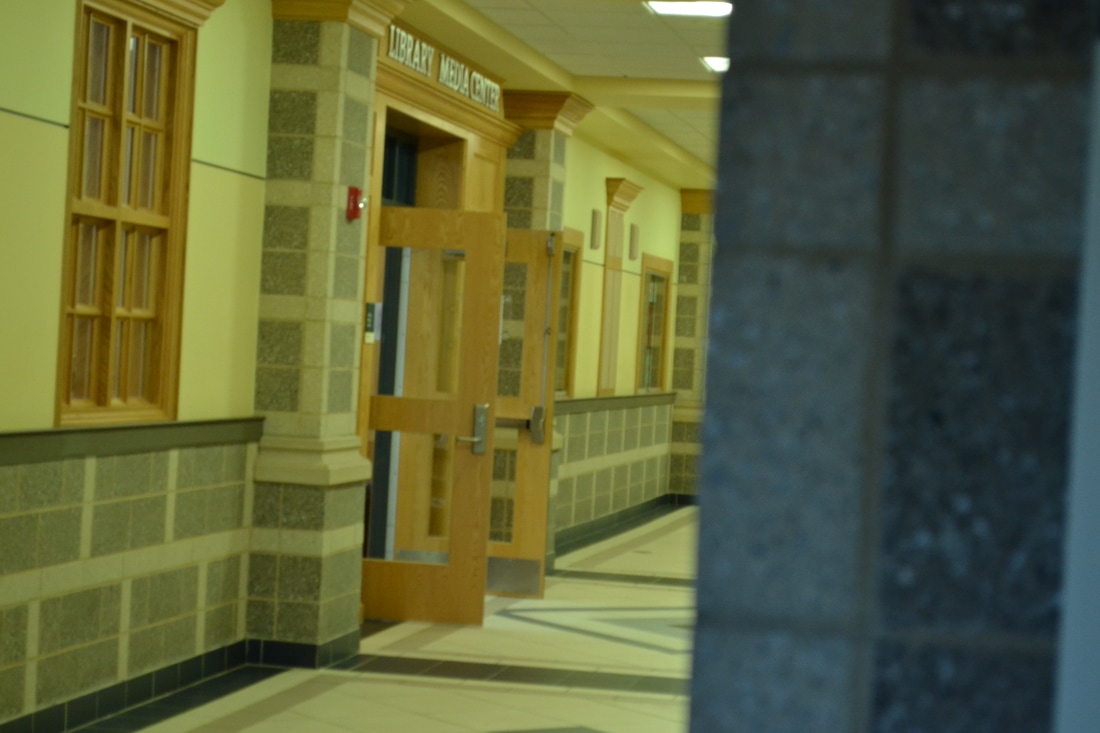
Car Picture 1
What f-stop did you have your camera set to create a shallow depth of field?
The f-Stop that was used was 8
What ISO and WB settings did you use?
ISO:1600 WB: Fluorescent (should have been cloudy)
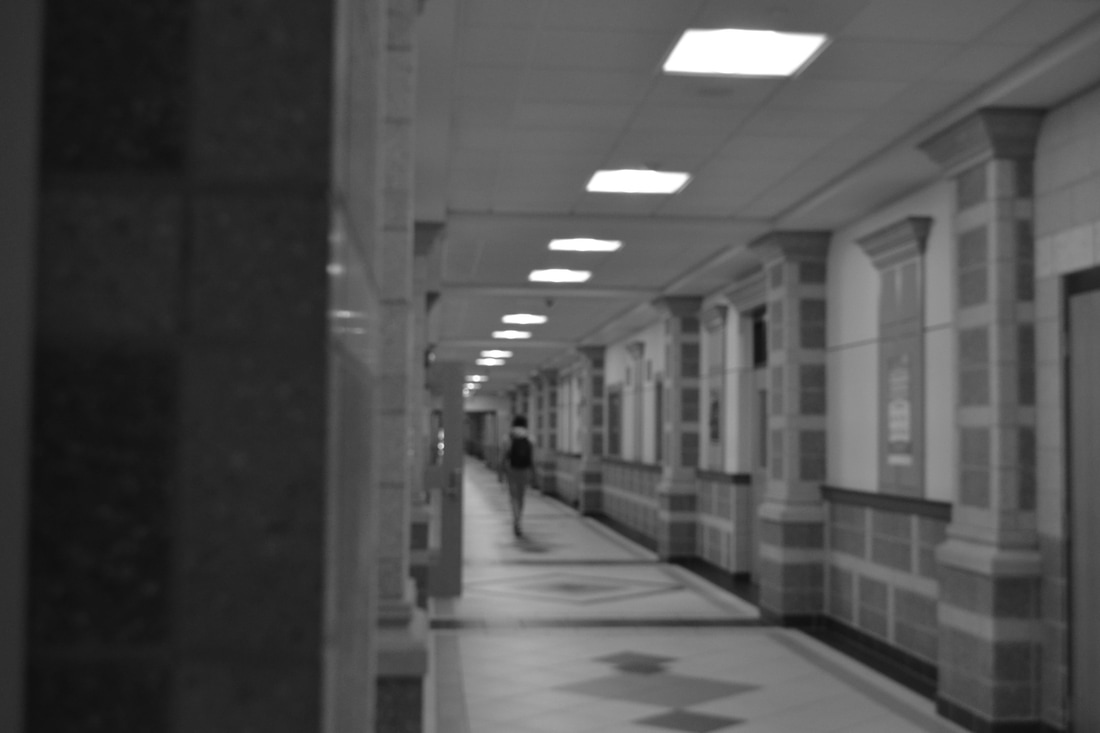
The car picture is better bc it has only a little bit of blur and the color isn't too bright for a viewer unlike the hallway picture being slightly too bright/overexposed
You would want to use shallow depth of field when you want the photo to have a clear focus point
You use a large depth of field when you wasn't everything to be in focus like a picture from the top of a mountain looking down or into the distance.
What f-stop did you have your camera set to create a shallow depth of field?
The f-Stop that was used was 8
What ISO and WB settings did you use?
ISO:1600 WB: Fluorescent (should have been cloudy)
The car picture is better bc it has only a little bit of blur and the color isn't too bright for a viewer unlike the hallway picture being slightly too bright/overexposed
You would want to use shallow depth of field when you want the photo to have a clear focus point
You use a large depth of field when you wasn't everything to be in focus like a picture from the top of a mountain looking down or into the distance.